Build a Chatbot for your Website with Dialogflow
How to Build a Dialogflow Chatbot
In this article we're going to show you how to use Dialogflow to build your first chatbot for your website. With our live chat integration with Dialogflow, you can easily create a website chatbot to use in conjunction with your human agents to provide great customer support.
Our chatbot built with Dialogflow's natural language processing gives you powerful features to create just about any type of chatbot you want. You can easily add our chatbots to your website to power your customer service.

Here are some ways you can use our chatbots for your business:
- Create a Chatbot powered Live Chat widget that leverages AI with no humans or agents needed.
- Use your chatbot to only interact with your visitors when your live chat agents are offline
- Have your chatbot answer missed chats that your agents haven't been able to respond to.
- Have your chatbot join all chats in conjunction with your agents to help answer common questions.
- Have your chatbot answer first, then drop out of the conversation once a human answers.
Best of all, our chatbots require no coding and are super simple to set up.
Here's a step by step guide to creating your first chatbot with Dialogflow and Social Intents
Prerequisites
- A Dialogflow Account: https://dialogflow.com
- A Social Intents Account: https://www.socialintents.com
High Level Steps
In this tutorial we're going to walk through the steps of adding chatbot functionality to your live chat that you can deploy on your website today. Here are the steps:
- Create a Live Chat app in Social Intents
- Create a Dialogflow Agent
- Add your Dialogflow integration to your Social Intents account.
- Test out your new Live Chat app with chatbot capabilities!
1. Create a Live Chat app in Social Intents
If you don't already have an account with us, you can register for a 2 week free trial here.
If you use either Slack or Microsoft Teams, you can add our app right to each of these platforms so you can chat from the communications tools you already use.
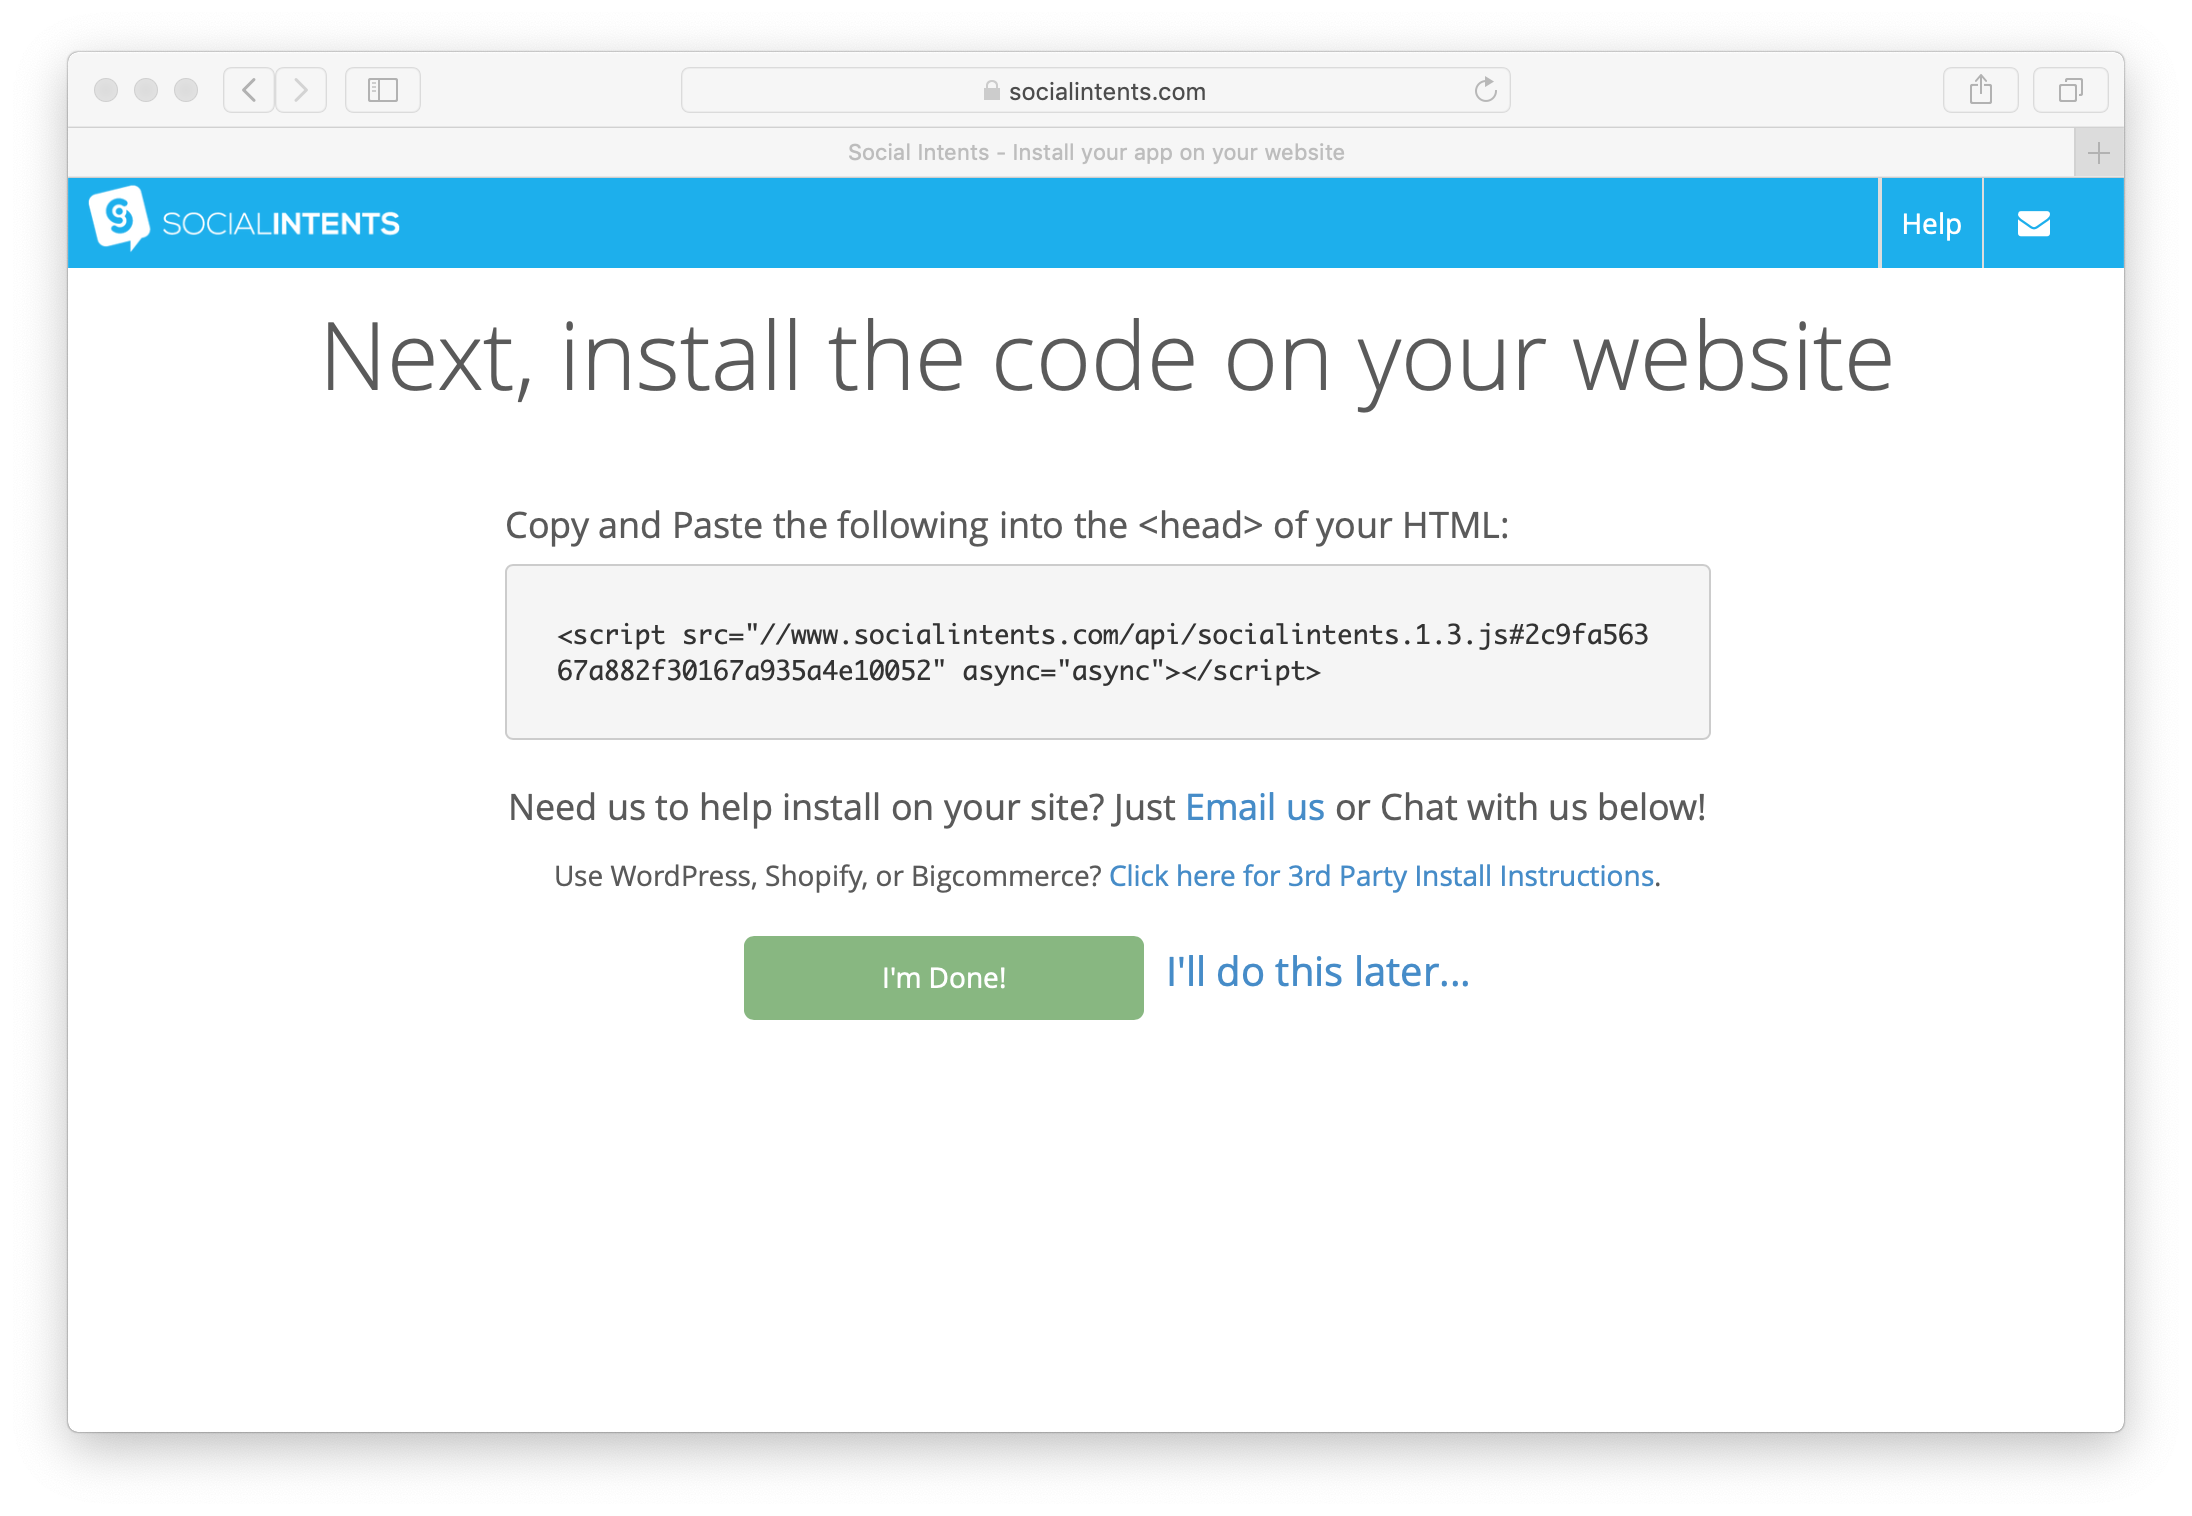
After creating your Social Intents account, we'll generate a code snippet for you. You can copy and paste this code snippet into your website in order to enable your chat widget on your own site.
2. Create your Dialogflow Agent
In this tutorial we'll create a test Agent that you'll integrate with Social Intents.
Now, head over to https://www.dialogflow.com and select the Dialogflow ES link to create your Agent.
 Now open the Dialogflow ES console by clicking the 'Go to the Dialogflow ES Console' button:

Create an Agent in Dialogflow
If you haven't already created an Agent, select the 'Create Agent' button as in the screen below.

Your new agent will have 2 default Intents. These will be enough to get started and respond with generic welcome messages. As you get more familiar with Dialogflow, you can create multiple Intents and Contexts to answer questions, gather answer data, and respond with Cards, Images, and Buttons.

Set up Dialogflow Authentication for API access
Next, set up your authentication details and generate a Dialogflow Service Account Key that you'll use to integrate with your chat widget in Social Intents.
If you click on the Settings Gear icon next to your agent name, you'll see the screen below. Click on the link to your Project ID highlighted below.

Then click on 'Go to project settings':
 Select 'Create Service Account':
 Now, name your service account and select 'Create':
 Under Step 2, assign a role of Dialogflow --> Dialogflow API Client to your service account:
 Click 'Continue', then click 'Done'
At this point, you should see an item similar to the following under your Service Accounts liar. Notice you haven't created any keys yet:

The final step here is to create your JSON Key. Click on your new service account, then select ADD KEY to generate your Private Key JSON file that will be used for our integration:

Choose JSON as your Key type and click Create. This will download your private key to your computer.

Whew, all set! You'll now upload this private key to your chat widget Chatbot page to enable our Social Intents integration with Dialogflow.
3. Add your Dialogflow Key to Social Intents
Now that you have create a Live Chat app and your new Dialogflow agent and key file, connect your Social Intents account to Dialogflow by logging into Social Intents, selecting My Apps from the left navigation bar, then Edit Settings on your Live Chat widget.
From the chat settings page, select the Chat Bots tab at the top of the page.
Select the Chatbot name that visitors will see when your chatbot responds, select the language you've used in creating your Agent in Dialogflow, and choose your Chatbot type.
Lastly, upload the .JSON Key file that you downloaded in the previous step by Choosing the File and clicking the 'Upload Dialogflow Private Key' button. This tells our app how to connect to the Dialogflow agent for answering your visitor questions in your chatbot.

4. That's it! You're ready to deploy your new chatbot
You're now all configured and ready to test your chatbot. Simply login to our website, select your Live Chat app and choose Preview. If you've already added the code snippet to your website, you can chat right there