How To Create a Facebook Messenger AI Chatbot with No Code
Discover everything you need to know about creating an AI chatbot on Facebook Messenger powered by ChatGPT with this step-by-step guide for building your own Messenger chatbot without any coding knowledge.
What is a Messenger Chatbot?
A Messenger chatbot is an automated chatbot that will automatically respond to incoming questions from Facebook Messenger and Facebook Pages. There are many types of chatbots, but we're going to show you how to create an AI chatbot in just a few simple steps that leverages the latest AI models and can be trained on your own business data. Best of all, with this bot and the integration with Social Intents you can control when your human agents are invited to allow for hybrid AI and human chatbots. This allows you to always answer your Facebook Page visitors quickly and route important chats to your agents in Microsoft Teams, Slack, or Google Chat.
Here are some things you can do this FB Messenger Chatbot
- Create an AI enabled Messenger chatbot to automatically respond to your customer questions using ChatGPT
- Answer inbound Facebook page messages right from your Social Intents account on the web or any integration like Microsoft Teams
- Train ChatGPT on your website content, articles, files, spreadsheets, PDFs, and knowledge base
- Setup Human Escalation Trigger phrases that will invite human agents to your visitor conversations
- Agents can answer chats from Microsoft Teams, Slack, Google Chat, and Zoom
- Automatically send leads and transcripts to your CRM and ticketing systems
- Direct your Facebook Page visitors to engage with you right in Messenger
How to build a Messenger Chatbot in 5 steps
Prerequisites
- OpenAI ChatGPT Account: https://platform.openai.com/signup
- Social Intents Account: https://www.socialintents.com
- A Facebook Page that you administer
High Level Steps
- Create an OpenAI ChatGPT Account
- Create a Social Intents free trial
- Enable your ChatGPT Chatbot in Social Intents with your OpenAI Key
- Connect your Chatbot to Facebook Messenger
- Test your integration by sending a message from your Facebook Page
Step 1: Create an OpenAI ChatGPT Account
To get started, you'll need an OpenAI ChatGPT account. This will allow you to access the AI models that power your chatbot. Here’s how to set it up:
- Sign Up: Go to the OpenAI ChatGPT signup page and create a new account. If you already have an account, simply log in.
- API Key: Once your account is set up, navigate to the API keys section in your OpenAI dashboard. Generate a new API key, which you’ll use later to connect ChatGPT to your Social Intents account.

Step 2: Create a Social Intents Free Trial
Social Intents will be the platform where you manage your chatbot and integrate it with Facebook Messenger. Follow these steps:
- Sign Up: Visit Social Intents and sign up for a free trial account.
- In Social Intents, go to the Live Chat Settings by clicking on My Apps, then Edit Settings of your chat widget.
- Click on the Chatbot Settings tab.
- Name your bot, choose an avatar, and select Chatbot Type of 'ChatGPT with OpenAI'.
- Copy your OpenAI API Key into the field called ChatGPT API Key.
Step 3: Enable Your ChatGPT Chatbot in Social Intents
With your OpenAI API key ready and your Social Intents account set up, it’s time to enable your AI chatbot.
- Navigate to Integrations: In your Social Intents dashboard, go to the Apps select and select your Live Chat widget settings.
- Add ChatGPT Integration: Look for the ChatGPT integration option and select it. You’ll be prompted to enter your OpenAI API key.
- Configure Initial Settings: Set up your chatbot’s initial system messages, which will guide its responses. You can customize these messages based on your business needs, ensuring the bot aligns with your brand’s tone and style.

- Train on your Content: Now click on the Train your Chatbot button and enter your website data to train the AI on your business data, docs, and spreadsheets.

Step 4: Connect Your Chatbot to Facebook Messenger
Now, connect your chatbot to Facebook Messenger so it can interact with your Facebook Page visitors.
- Access Facebook Integration: In the Social Intents dashboard, locate the Facebook Messenger integration option in the integrations section.

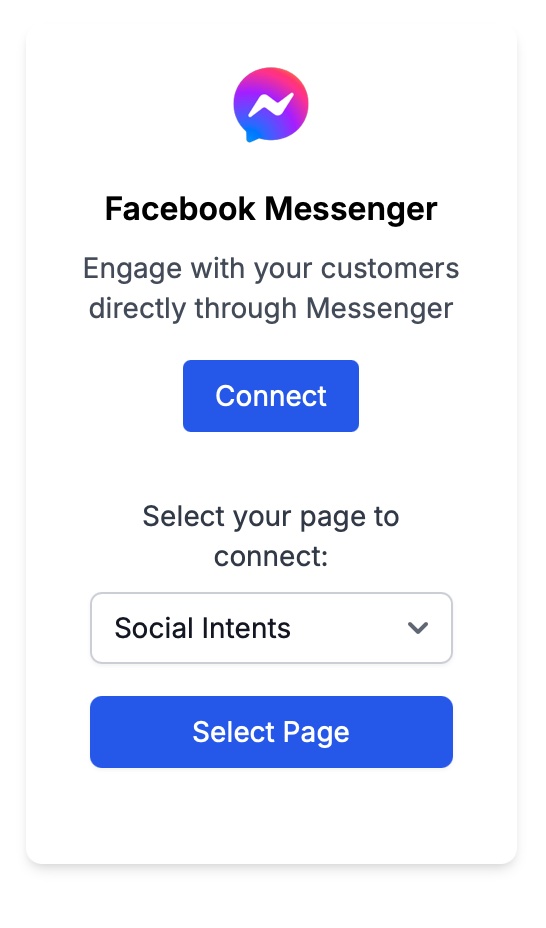
- Link Your Facebook Messenger Page: Click on the Connect button. You’ll be prompted to log in to your Facebook account and select the business portfolio or page you want to connect. Ensure you have administrative access the page that you want to connect.

- Authorize Permissions: Grant the necessary permissions for Social Intents to send and receive messages on your behalf. Pick the page you want to connect to messenger then click Select Page.


Step 5: Test Your Messenger Chatbot Integration
That's it! Your ChatGPT powered chatbot is now connected to your Facebook Messenger.
- Send a Test Message: Go to your connected Facebook Page and send a message. Observe how the chatbot responds.

- Check Responses in Social Intents: Log in to your Social Intents dashboard and verify that the message appears there. Ensure that the chatbot’s responses align with the settings you configured.
- Human Escalation: Test the escalation triggers by sending messages that should prompt human intervention. This step ensures that urgent or complex inquiries are correctly routed to your agents.
