Create a ChatGPT Chatbot with Menu Button Responses
When you create a chatbot with ChatGPT for your website, you may want to include initial menu button responses to help guide the visitor in their questions. This can be very useful if you are recommending products for your visitors or guiding them to certain areas or articles on your website.
ChatGPT is very flexible in its response formats including HTML responses. In this article we'll show you how to create an AI website chatbot that can respond with a menu flow based on the visitor questions while also leveraging the power of trained content to answer customer service questions.
Here are some things you can do with ChatGPT Button responses
- Pre-qualify your leads with a chatbot
- Guide visitors to an product or product category for purchasing on your website
- Determine which majors are a best fit for universities
- Escalate chats to your human agents based on previous question responses
- Identify ideal customer personas for your chatbot
- Capture specific information from your visitors using a straight forward flow
Here are the steps to creating your own AI chatbot with html button responses:
- Create your OpenAI Account and create an API Key
- Register for a Social Intents free trial account.
- Add your OpenAI API Key to Social Intents.
- Train your AI Chatbot on your content
- Configure your Chatbot Instructions to response with menu button options
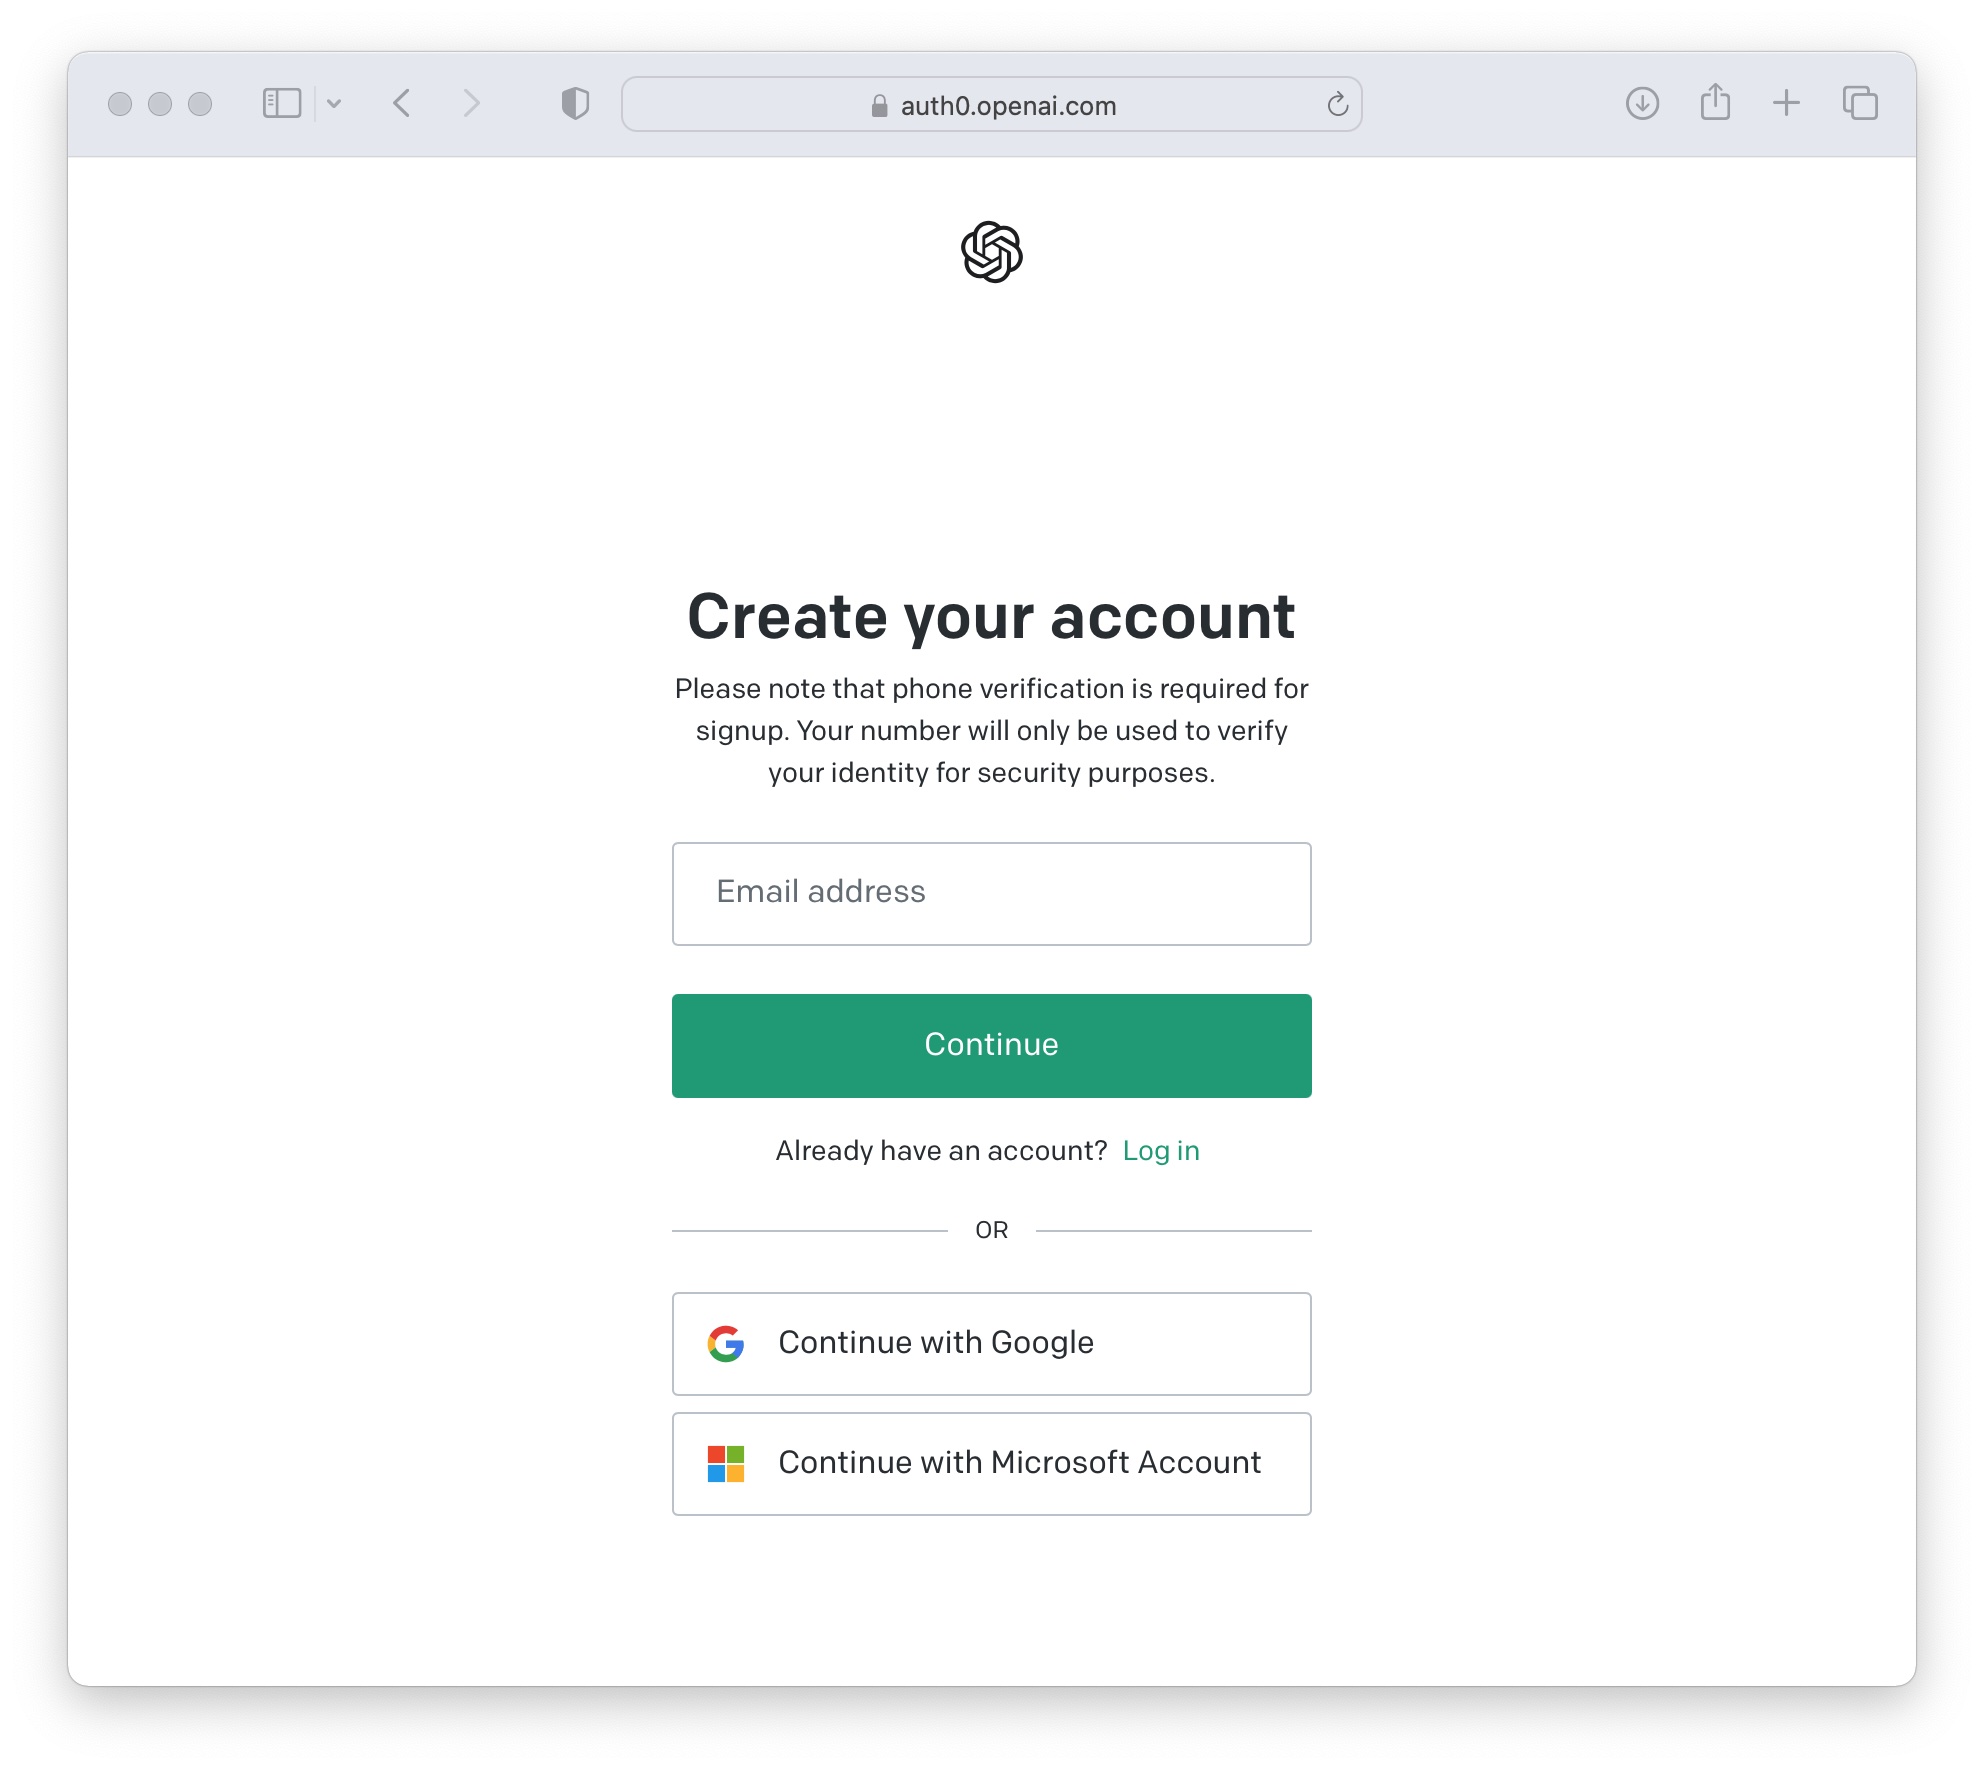
Step 1: Create your OpenAI account
First things first. If you haven't already, sign up for your OpenAI account here.
Once logged in to OpenAI, click on your profile and select 'View API keys'
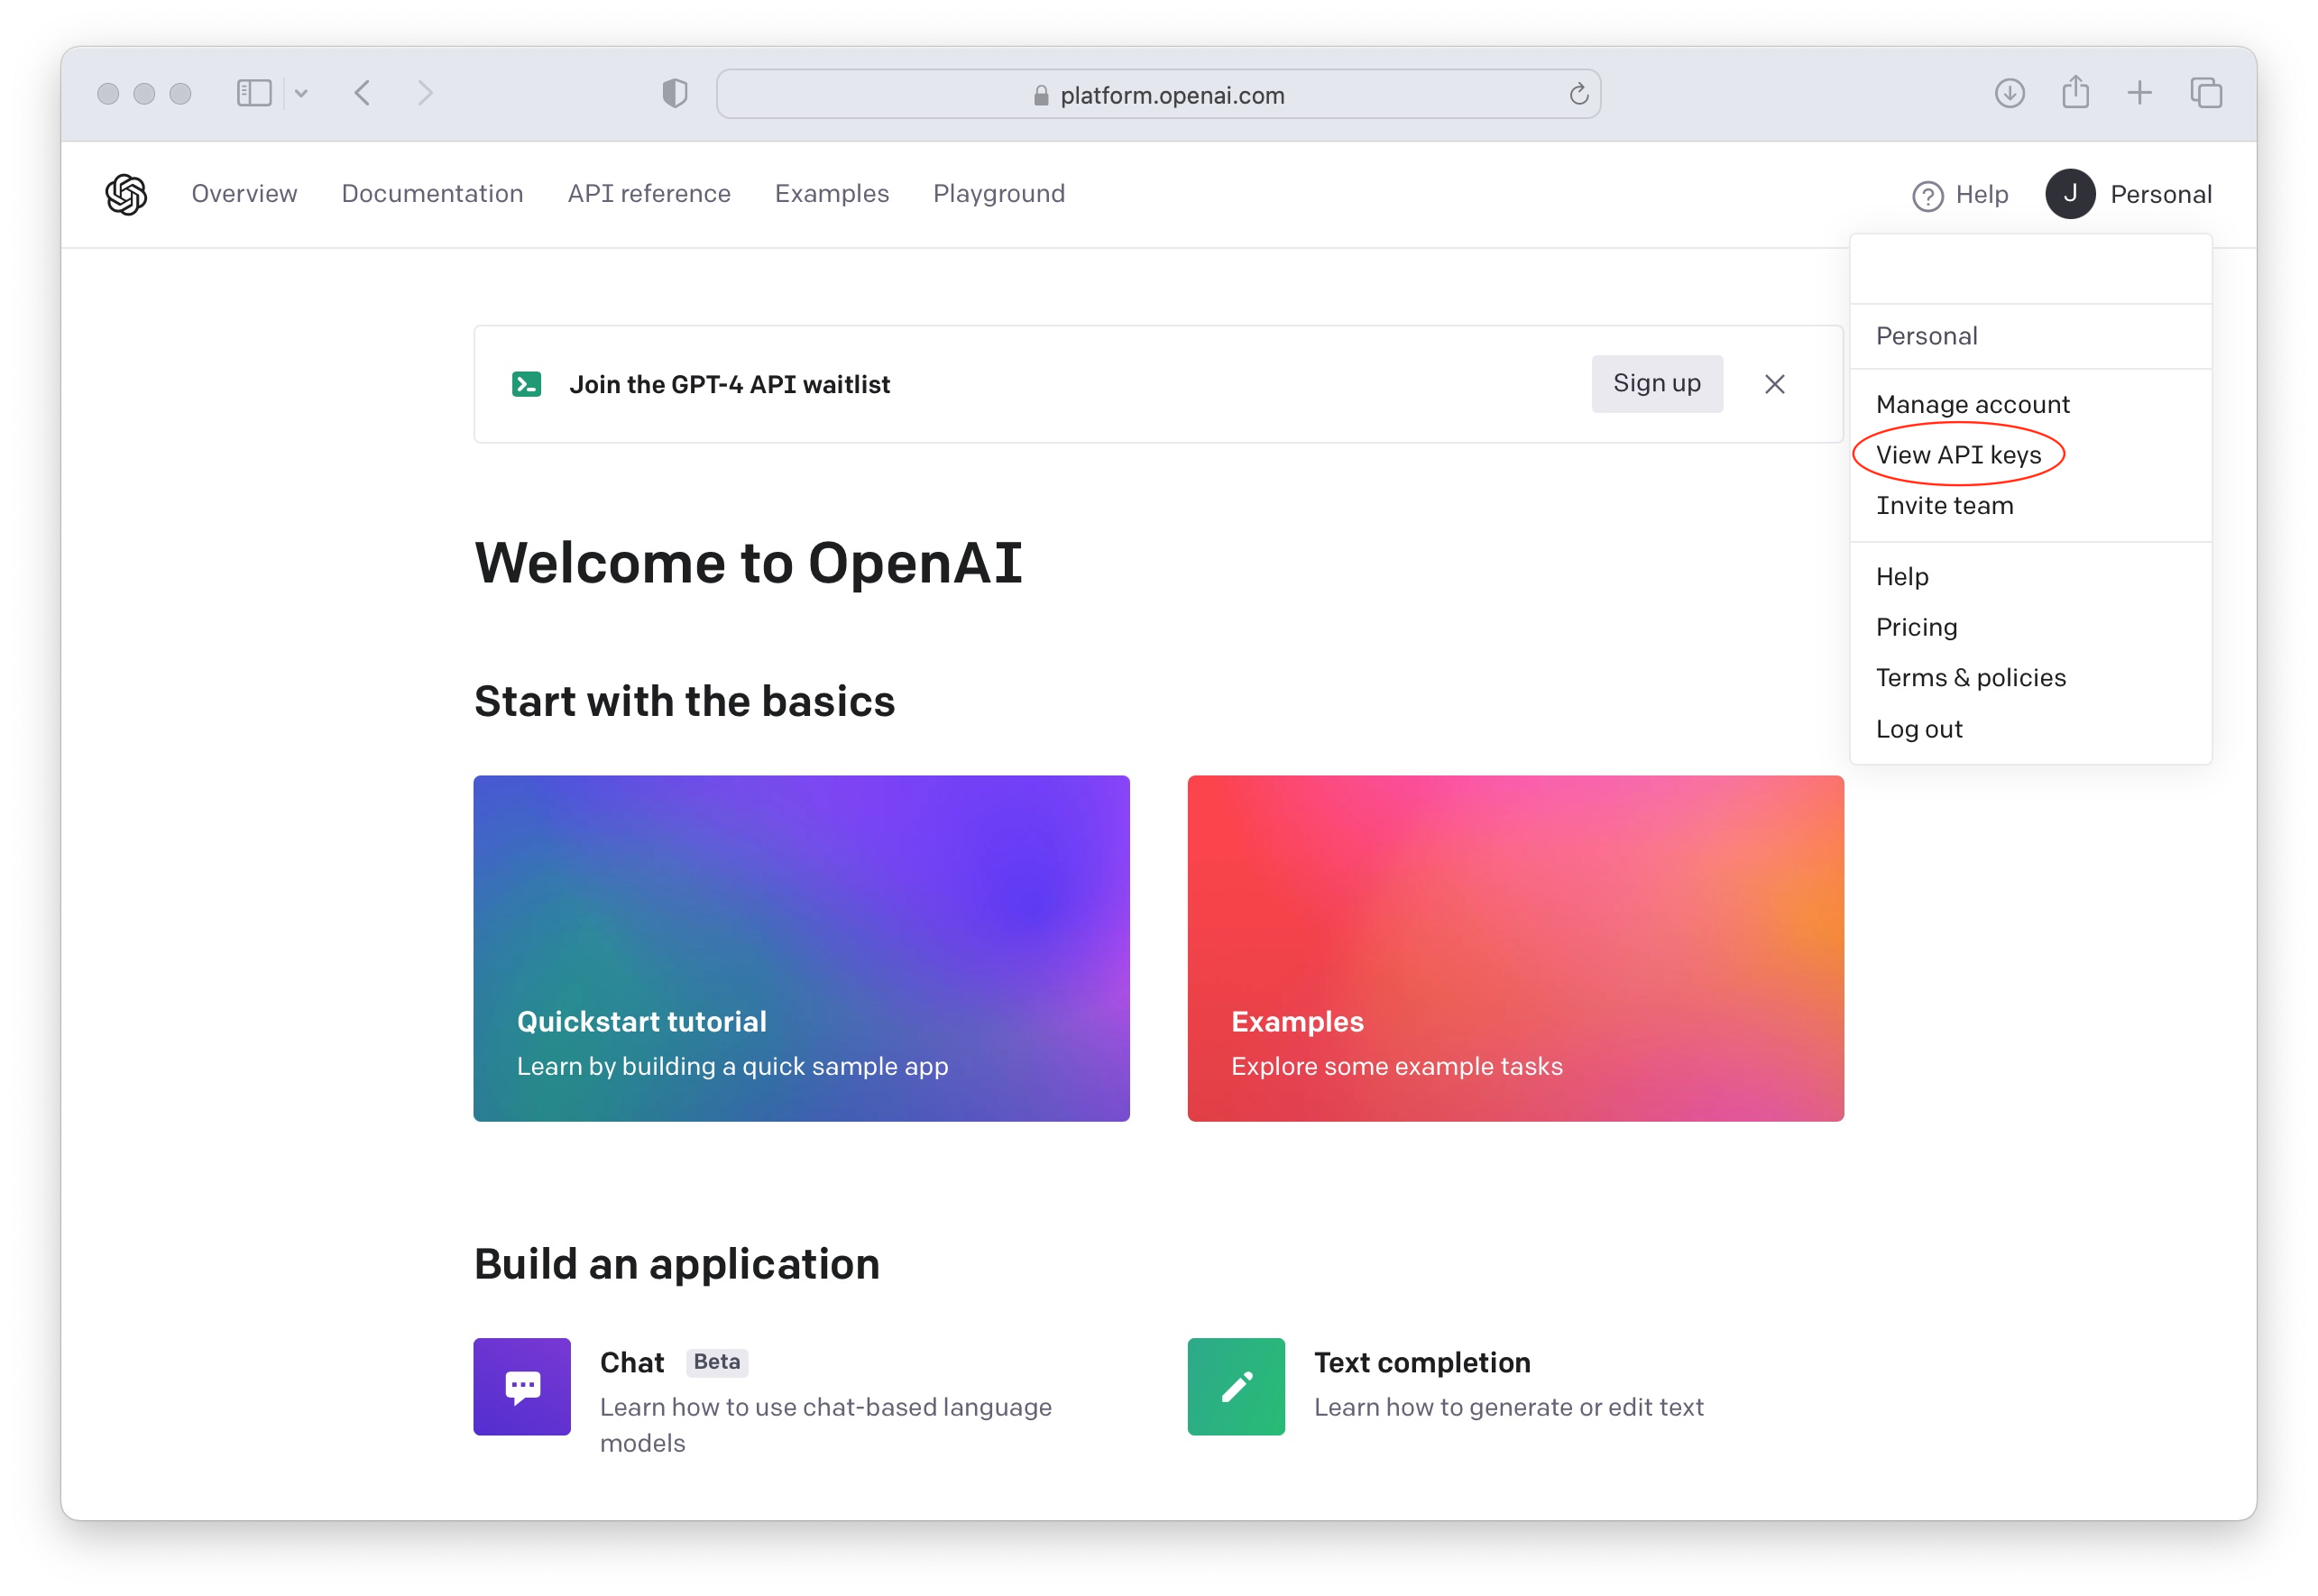
Now create a new API Key to use in your Social Intents Chatbot Settings for integration.

Add Payment Information to OpenAI
The ChatGPT API is only enabled on paid OpenAI plans. Otherwise you'll see an error message response like the following from our chatbot integration:

You can check and add your billing information here: OpenAI Payment Settings
Step 2: Register for a Social Intents Free Trial
If you don't already have an account with Social Intents, simply register for a Free Trial. We will use Social Intent's ChatGPT chat completions integration to enable the chat in your website.
Once you sign up you can pick an integration with Teams, Slack or a standalone account. The integrations will be used to invite in Live Chat agents when you want to escalate a website chat from the chatbot to live chat agents. You can answer chats in Microsoft Teams, Slack, Zoom, or Webex. Otherwise, you can answer the chats directly in our web-based dashboard.
Step 3. Add your OpenAI API Key to Social Intents
Next, go to the Live Chat Settings in Social Intents by clicking on My Apps, then Edit Settings of your chat widget. Then, click on the Chatbot Settings tab.
In your Chatbot Settings name your bot, choose an avatar for the chat bot and select Chatbot Type of 'ChatGPT with OpenAI'.
You can then decide how you want your chatbot to be invited into the chat. You can have a chatbot only, then invite agents later, have it pick up only when your live chat agents are offline or miss a chat, or join the same time your agents join.
For ChatGPT Model, you can choose any of the models the OpenAI supports with the Chat API: https://platform.openai.com/docs/guides/chat
For our example, we will use the latest GPT-4 Model: gpt-4-1106-preview
Copy your OpenAI API Key into the field called: ChatGPT API Key.

Next you can customize your ChatGPT Welcome text with a Default Welcome Response, and Quick Reply buttons to help direct your users.
The Human Escalation trigger phrases can be used to match on user intent when they want to reach to a live agent. When one of these phrases is matched, we invite your human agents by sending Live Chat Invites to Microsoft Teams, Slack, Zoom, or Webex.
Once your agents answer the chats, then the bot drops out of the conversation.
Make sure to customize the ChatGPT Instruction Phrases to point to your website url to help guide ChatGPT on the types of answers to provide.

4. Train your AI Chatbot on your Website Content
Now, you can train ChatGPT with your own content. Simply click on the 'Train your chatbot' button in the chatbot settings and you'll be taken to a page where you can list URL's you can use to train the bot.
Enter a base domain or individual urls to add as content to train. Then click Train All to train your ChatGPT chatbot on your own content.

5. Configure your Chatbot Instructions with HTML Button Responses
Now in your Chatbot settings in Social Intents, you can set up the menu options. In our case, we'll set up a very simple chatbot that will identify which college major a website visitor is interested in, then when the select the category, response with additional options.
The text of the instructions is as follows in our case:
You are a friendly customer service chat bot for a university.  You will ask the prospective student a series of questions to determine which major the university suggests for them.
Follow this menu flow to guide the potential student in their conversation with you:

First, ask what major they prefer and provide these options:
 <button class='si-button' id='quick-reply-001' data-text-reply='English'>English</button>
 <button class='si-button' id='quick-reply-002' data-text-reply='Engineering'>Engineering</button>

If the student chooses, engineering, then ask them which type of engineering they prefer from these menu options:
  <button class='si-button' id='quick-reply-003' data-text-reply='Electrical Engineering'>Electrical Engineering</button>
  <button class='si-button' id='quick-reply-004' data-text-reply='Computer Engineering'>Computer Engineering</button>
  <button class='si-button' id='quick-reply-004' data-text-reply='Chemical Engineering'>Chemical Engineering</button><br>
To edit this field, go to My Apps --> Live Chat Edit Settings, then click on the Chatbot Settings tab:
 Pay attention to the <button> HTMl elements in the responses. If using the gpt-4 models, ChatGPT will respond with this HTML example as it is in the chat. Here's an example of a chat using these chatbot instructions:

And when the visitor clicks the 'Engineering' button, we see the sub options that we set up in the chatbot instructions:

Lastly, for advanced routing to your agents in Microsoft Teams, Slack, or Google Chat, you can add custom values to the buttons themselves to trigger automatic escalation to Human agents when a button is clicked.
If you want a button that will escalate to an Agent in Microsoft Teams, make sure to add the Live Chat integration to teams first, then once it's added, you can have ChatGPT respond with an html button as below. The important part of this button is the data-reply option with the invite_agent tag and the specific channel in teams you want to route to:
<button class='si-button' id='quick-reply-006' data-text-reply='Talk to an Agent' data-reply='invite_agent:19:fsadee2eij74626bf13b37642d162b1@thread.tacv2'>Talk to an Agent</button>
If you prefer just to route to your default route for the live chat, you can remove the channel details and just include 'invite_agent' in the data-reply field:
<button class='si-button' id='quick-reply-006' data-text-reply='Talk to an Agent' data-reply='invite_agent'>Talk to an Agent</button>
As you can see, you can include advanced routing options to human agents in your chatbot instructions. So anytime you may want to shortcut the AI conversation and send the chats to your human agents, you can instruct ChatGPT to respond with buttons similar to above in your chatbot conversations.