AI Chatbot trained on your data: PDFs, Word Docs, Excel Files, and files
Here's a guide to building a custom AI Chatbot that's trained on your own website data like sitemaps, PDF's, files, and website content. Learn how to easily build an advanced chatbot that will answer your visitor questions, point them to correct sources of data, and then escalate to your agents as needed.
This solution leverages ChatGPT and your OpenAI account for the chatbot backend, and Social Intents live chat for the website chat. You can set up the chatbot to always answer, answer your visitor questions only when your agents aren't available, or to escalate to your agents when your visitors want to talk to a human.
Here are some AI Chatbot features with this solution:
- Train your AI chatbot with your sitemaps
- Train your AI chatbot based on uploaded Word Docs
- Train your AI chatbot with spreadsheets and Excel files
- Train your AI chatbot with your knowledge base in 1 click
- Choose your ChatGPT model including ChatGPT 4 and the latest 16k and 32k models
- Pre-qualify your leads with a chatbot
- Set up initial System messages and instructions for ChatGPT
- Configure Human Escalation Trigger phrases that will invite agents to your visitor conversations
- Monitor chatbot conversations in real-time and have your humans pick up chats as needed
- Direct your website visitors to website information with a chatbot
Here's an example of your AI Chatbot deployed to your website. You can customize colors, logos, questions, and default quick replies:

Let's get started with a step-by-step guide to building your first AI chatbot trained on your data.
Prerequisites
- OpenAI ChatGPT Account: https://platform.openai.com/signup
- Social Intents Account: https://www.socialintents.com
High Level Steps
- Create your OpenAI API Key after registration
- Create a Social Intents free trial
- Add your OpenAI API Key to your Social Intents chatbot settings.
- Train your AI Chatbot with your own website content, files, and documents.
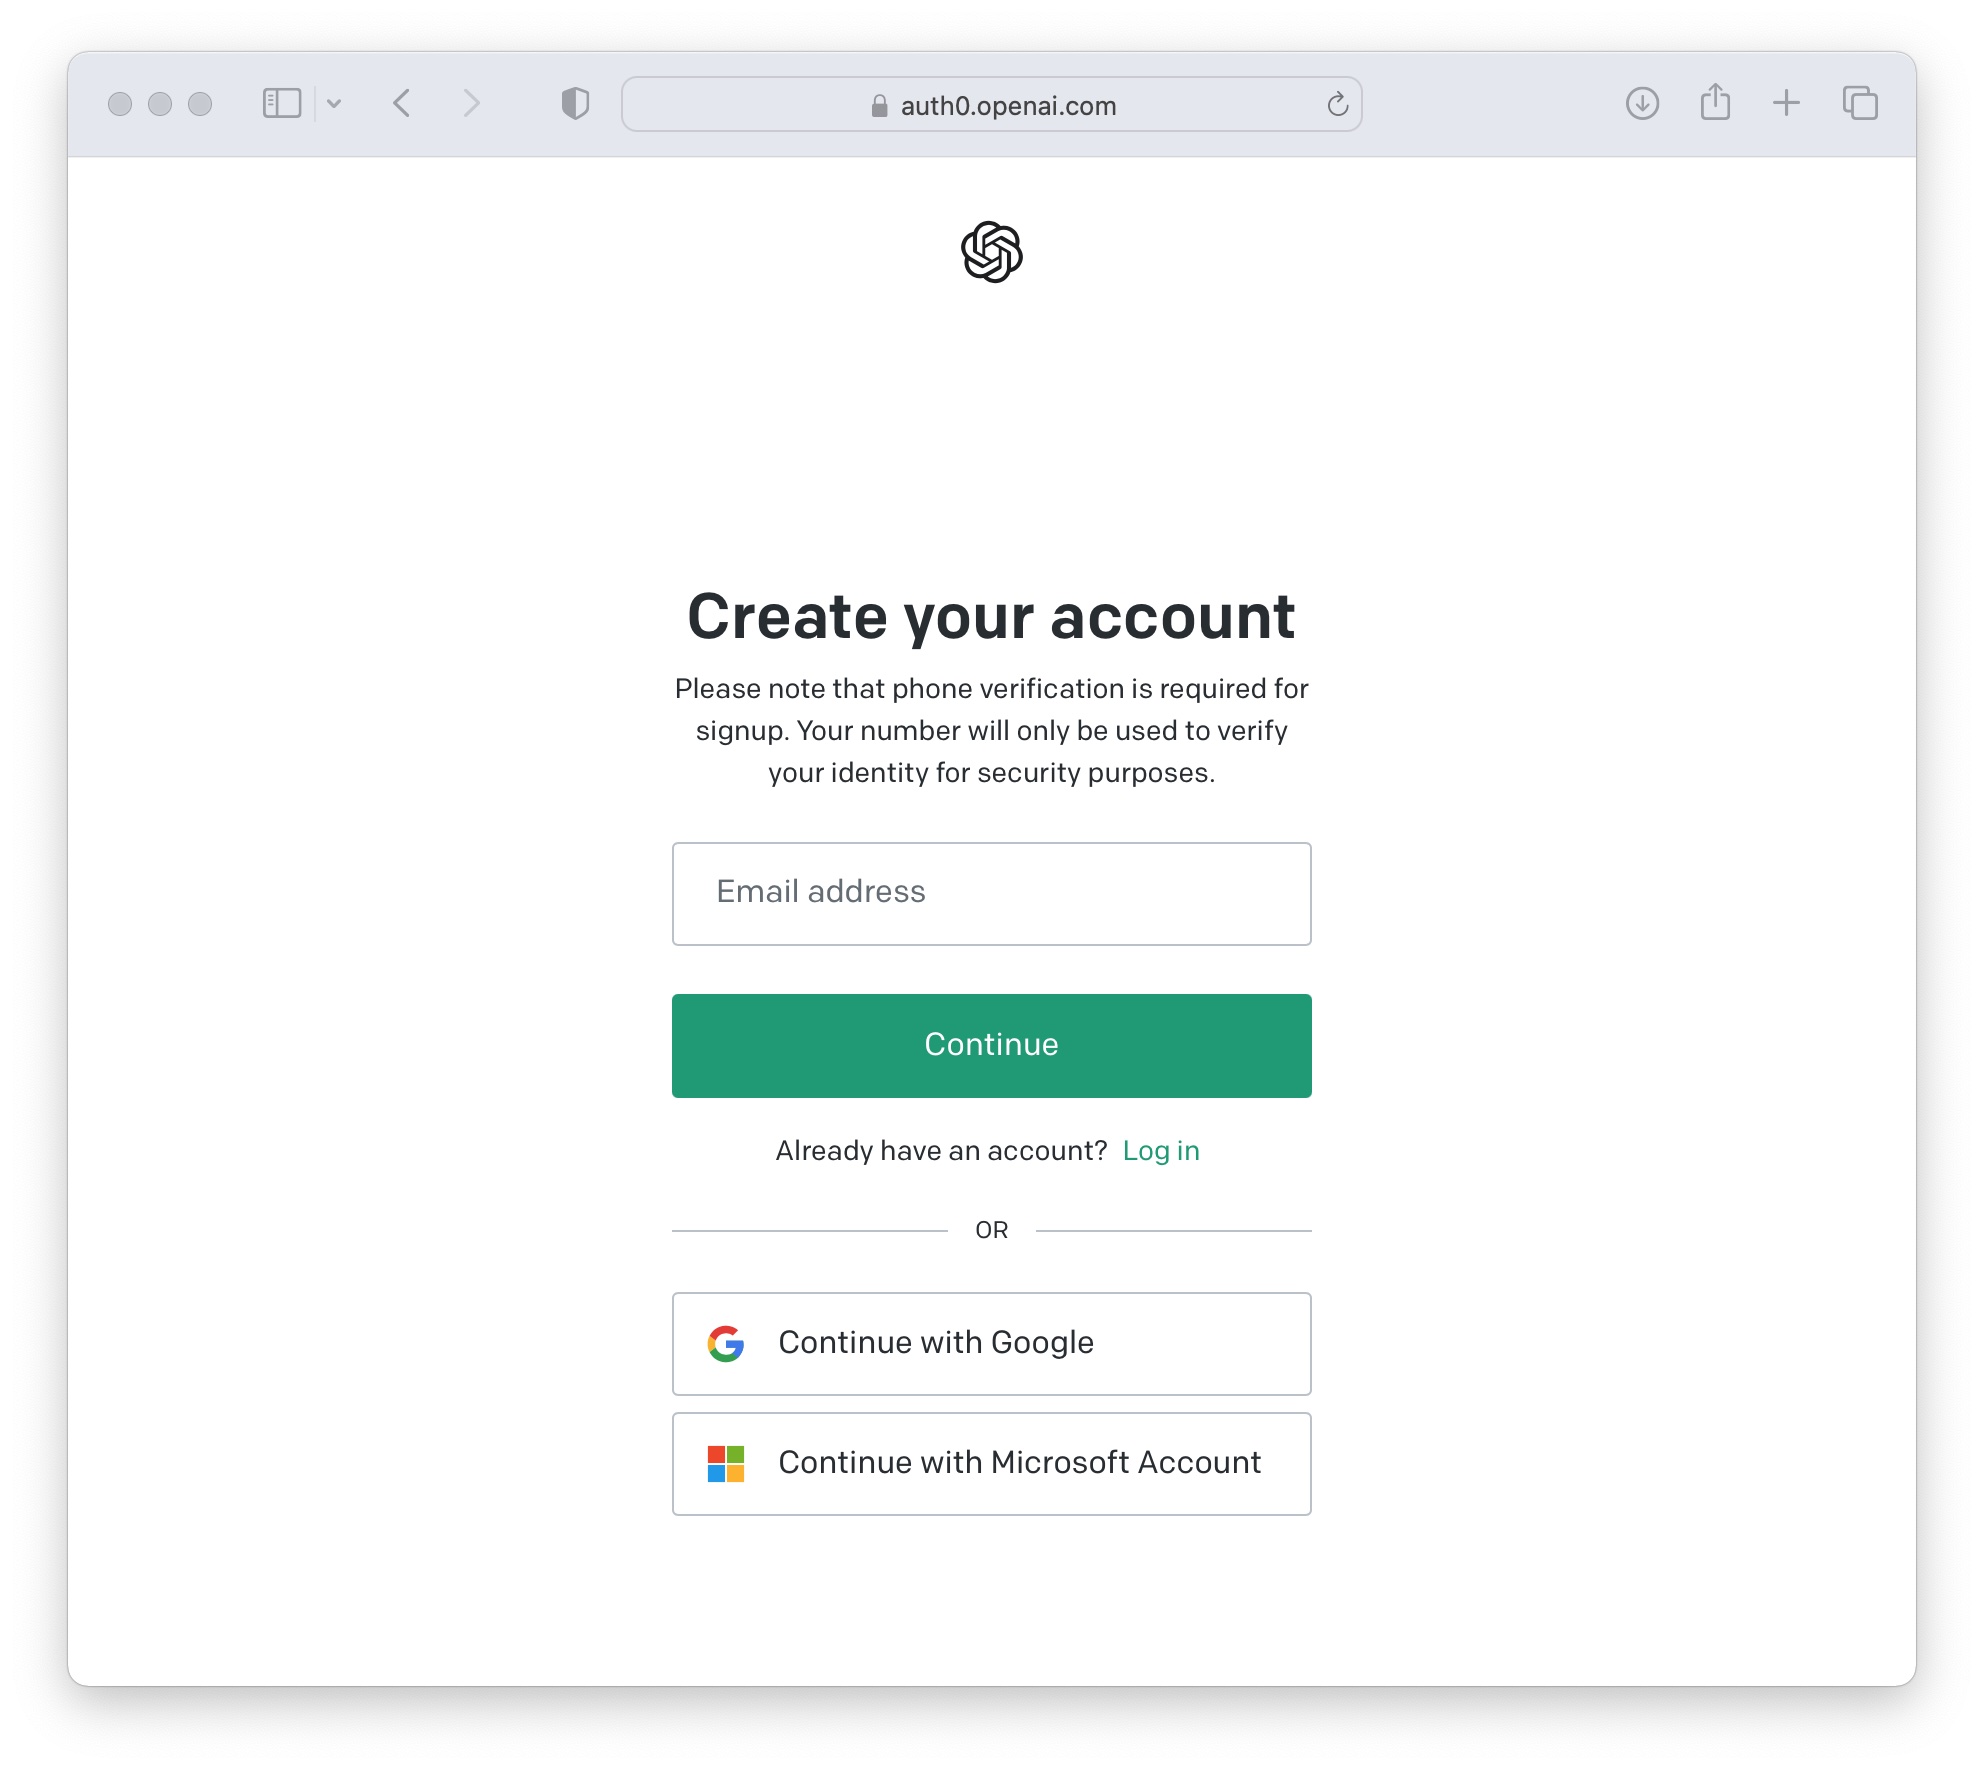
1. Create an OpenAI account
If you haven't already, sign up for your OpenAI account here.
 Once logged in to OpenAI, click on your profile and select 'View API keys'
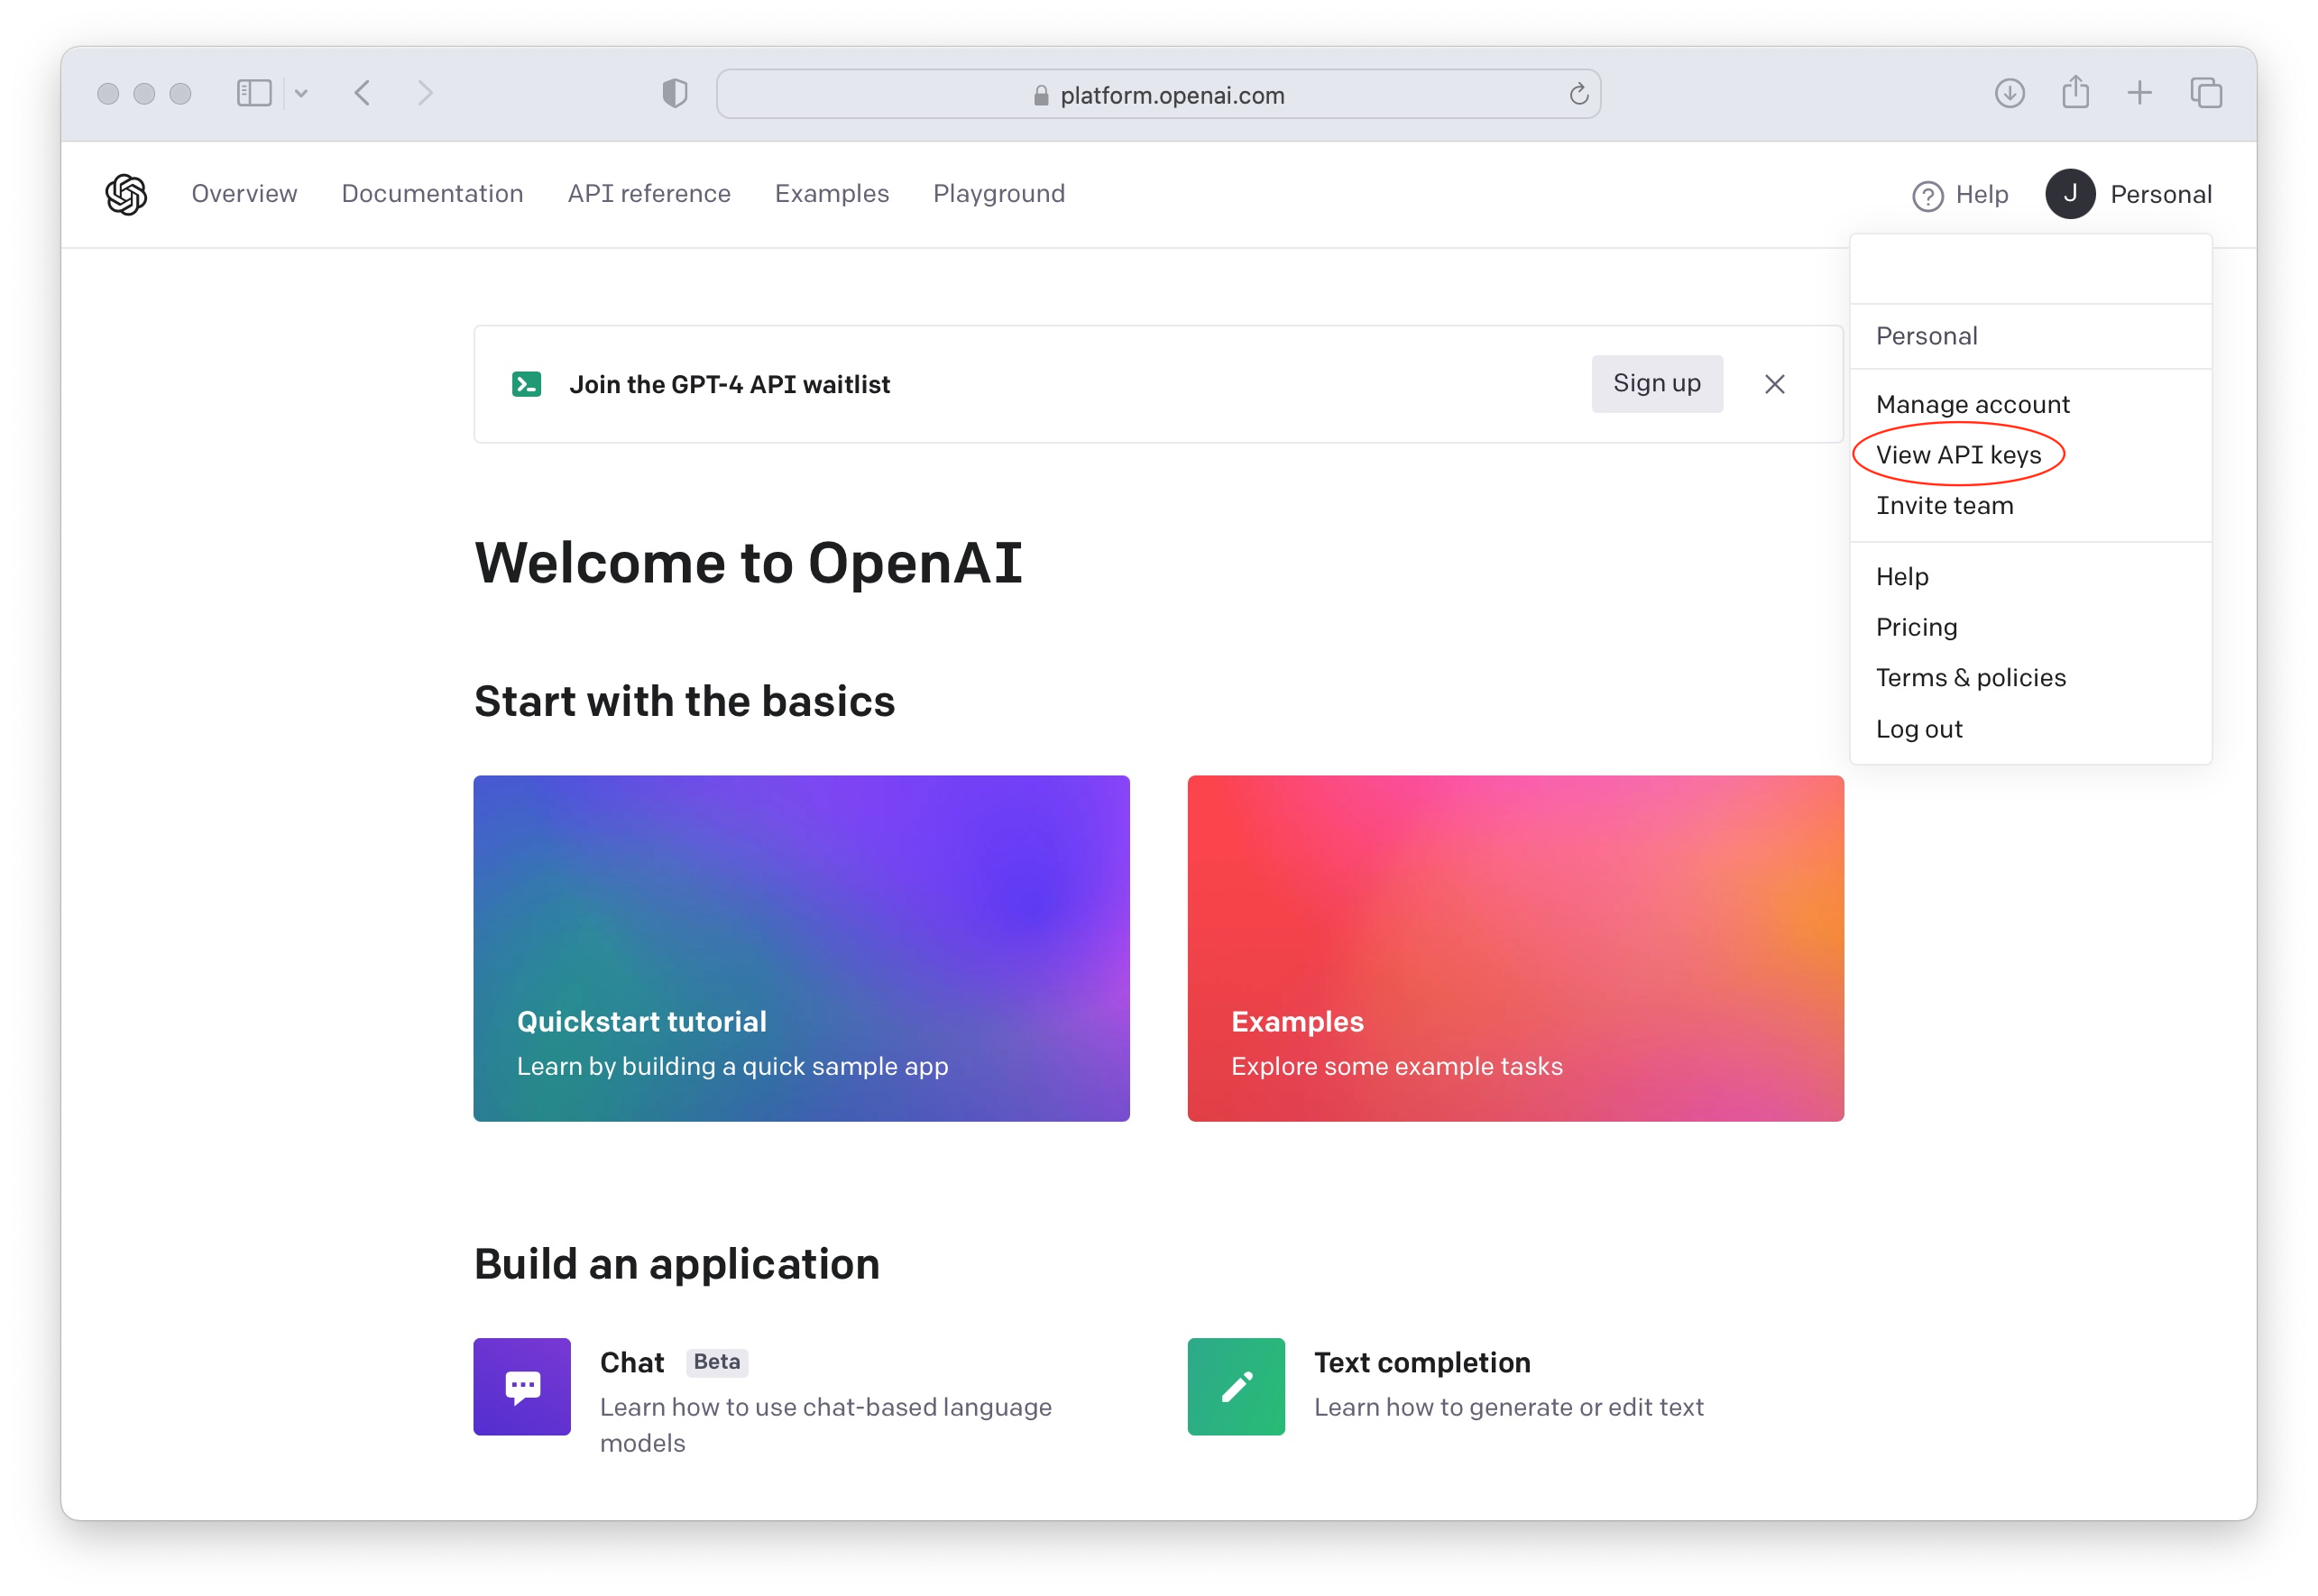
Now create a new API Key to use in your Social Intents Chatbot Settings when building your ChatGPT chatbot.

Add Payment Information to OpenAI to enable the API
The ChatGPT API is only enabled on paid OpenAI plans. Otherwise you'll see an error message response like the following from our chatbot integration:

You can check and add your billing information here: OpenAI Payment Settings
2. Create a Social Intents free trial
If you don't already have an account with Social Intents, simply register for a Free Trial.
Simply choose the AddChatGPT integration when signing up.

3. Train your AI Chatbot on your own
After clicking register on the free trial, you can enter your OpenAI API Key in the integration and then load your training content for your new chatbot. You can enter the url of your sitemap.xml, point to pages, upload PDF files or other files like Word Docs, text files, CSV files or spreadsheets to train your Chatbot on information about your website. See details here on chatbot training.

After registering in Social Intents, you can continue to customize any of the ChatGPT settings for your chatbot. For details on each ChatGPT Chatbot Settings you can configure, you can check out this article:
https://help.socialintents.com/article/200-chatgpt-chatbot-settings
4. Copy your AI Chatbot Code Snippet to your Website
In the final step, copy the Chatbot code snippet we've created to your website to enable your new AI Chatbot. You can also use the direct standalone link to point directly to your chatbot. Customize your standalone chat link in your chat settings.

That's it! Your AI Chatbot trained on your own content is added on your website!
Now your website chatbot powered by ChatGPT is enabled on your website and is ready to answer your visitor questions!
Get Started with your AI Chatbot on your website today!
Start your 14-Day Free trial at Social Intents to add ChatGPT to your website in under 5 minutes. It's as simple as adding your OpenAI API Key into your chatbot settings!