How to build your own AI chatbot for your website with OpenAI
In this article we'll show you how to build your own AI chatbot to provide customer service on your website with OpenAI's ChatGPT in under 5 minutes. Train your AI chatbot on your own website content and data, and instruct the AI to respond as your website customer service agent.
Your chatbot can be included in any website and you can escalate the AI chatbot to a human at any time with the integration with Microsoft Teams, Slack, or a web based dashboard.
Here are the steps to creating your own AI chatbot:
- Create your OpenAI Account and create an API Key
- Register for a Social Intents free trial account.
- Add your OpenAI API Key to Social Intents.
- Train your AI Chatbot on your content
- Copy your chatbot code snippet to your website
Here are just a few of the features of your AI Chatbot:
- Use the most advanced AI on the market with OpenAI and ChatGPT including GPT-4 support
- Train your AI Chatbot on your website articles, URL's, and uploaded files with 1-click training
- Use your own OpenAI account so you can mange your models and data
- Customize your chatbot with your logo, colors, and hours of operation
- Qualify leads and send lead data where you want with a RESTful api or Zapier integration
- Automatically escalate chats to your human customer service agents in Teams or Slack
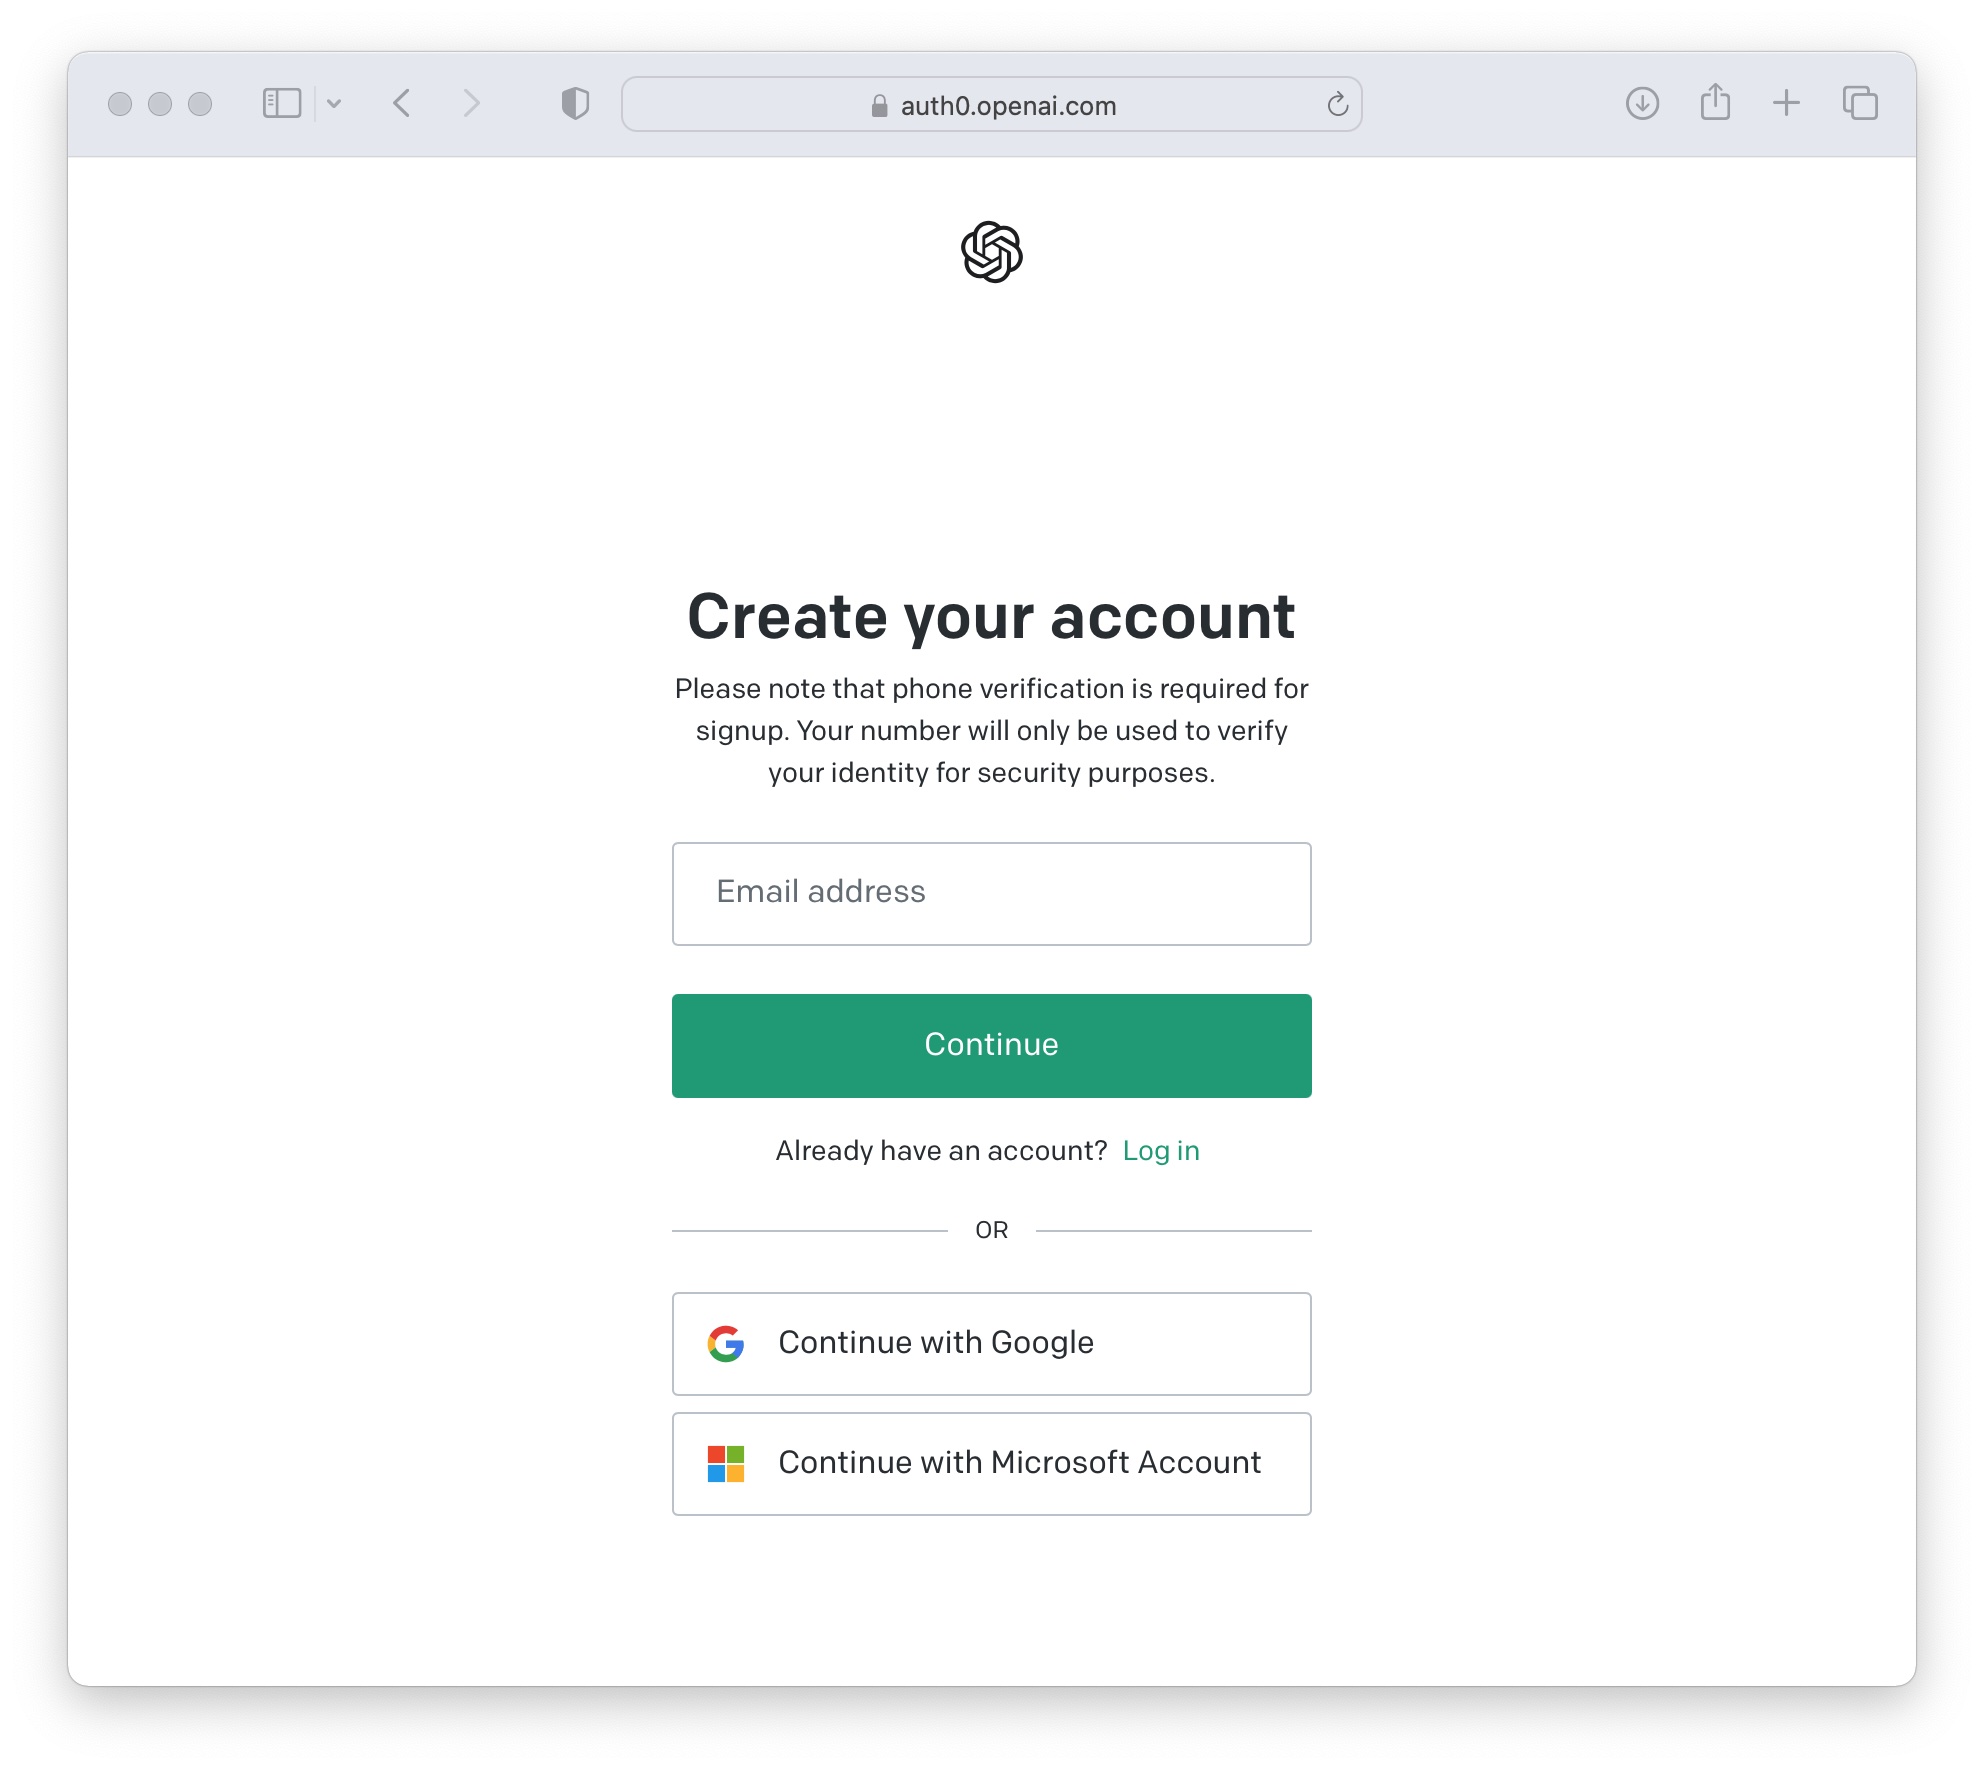
Step 1: Create your OpenAI account
First things first. If you haven't already, sign up for your OpenAI account here.
Once logged in to OpenAI, click on your profile and select 'View API keys'
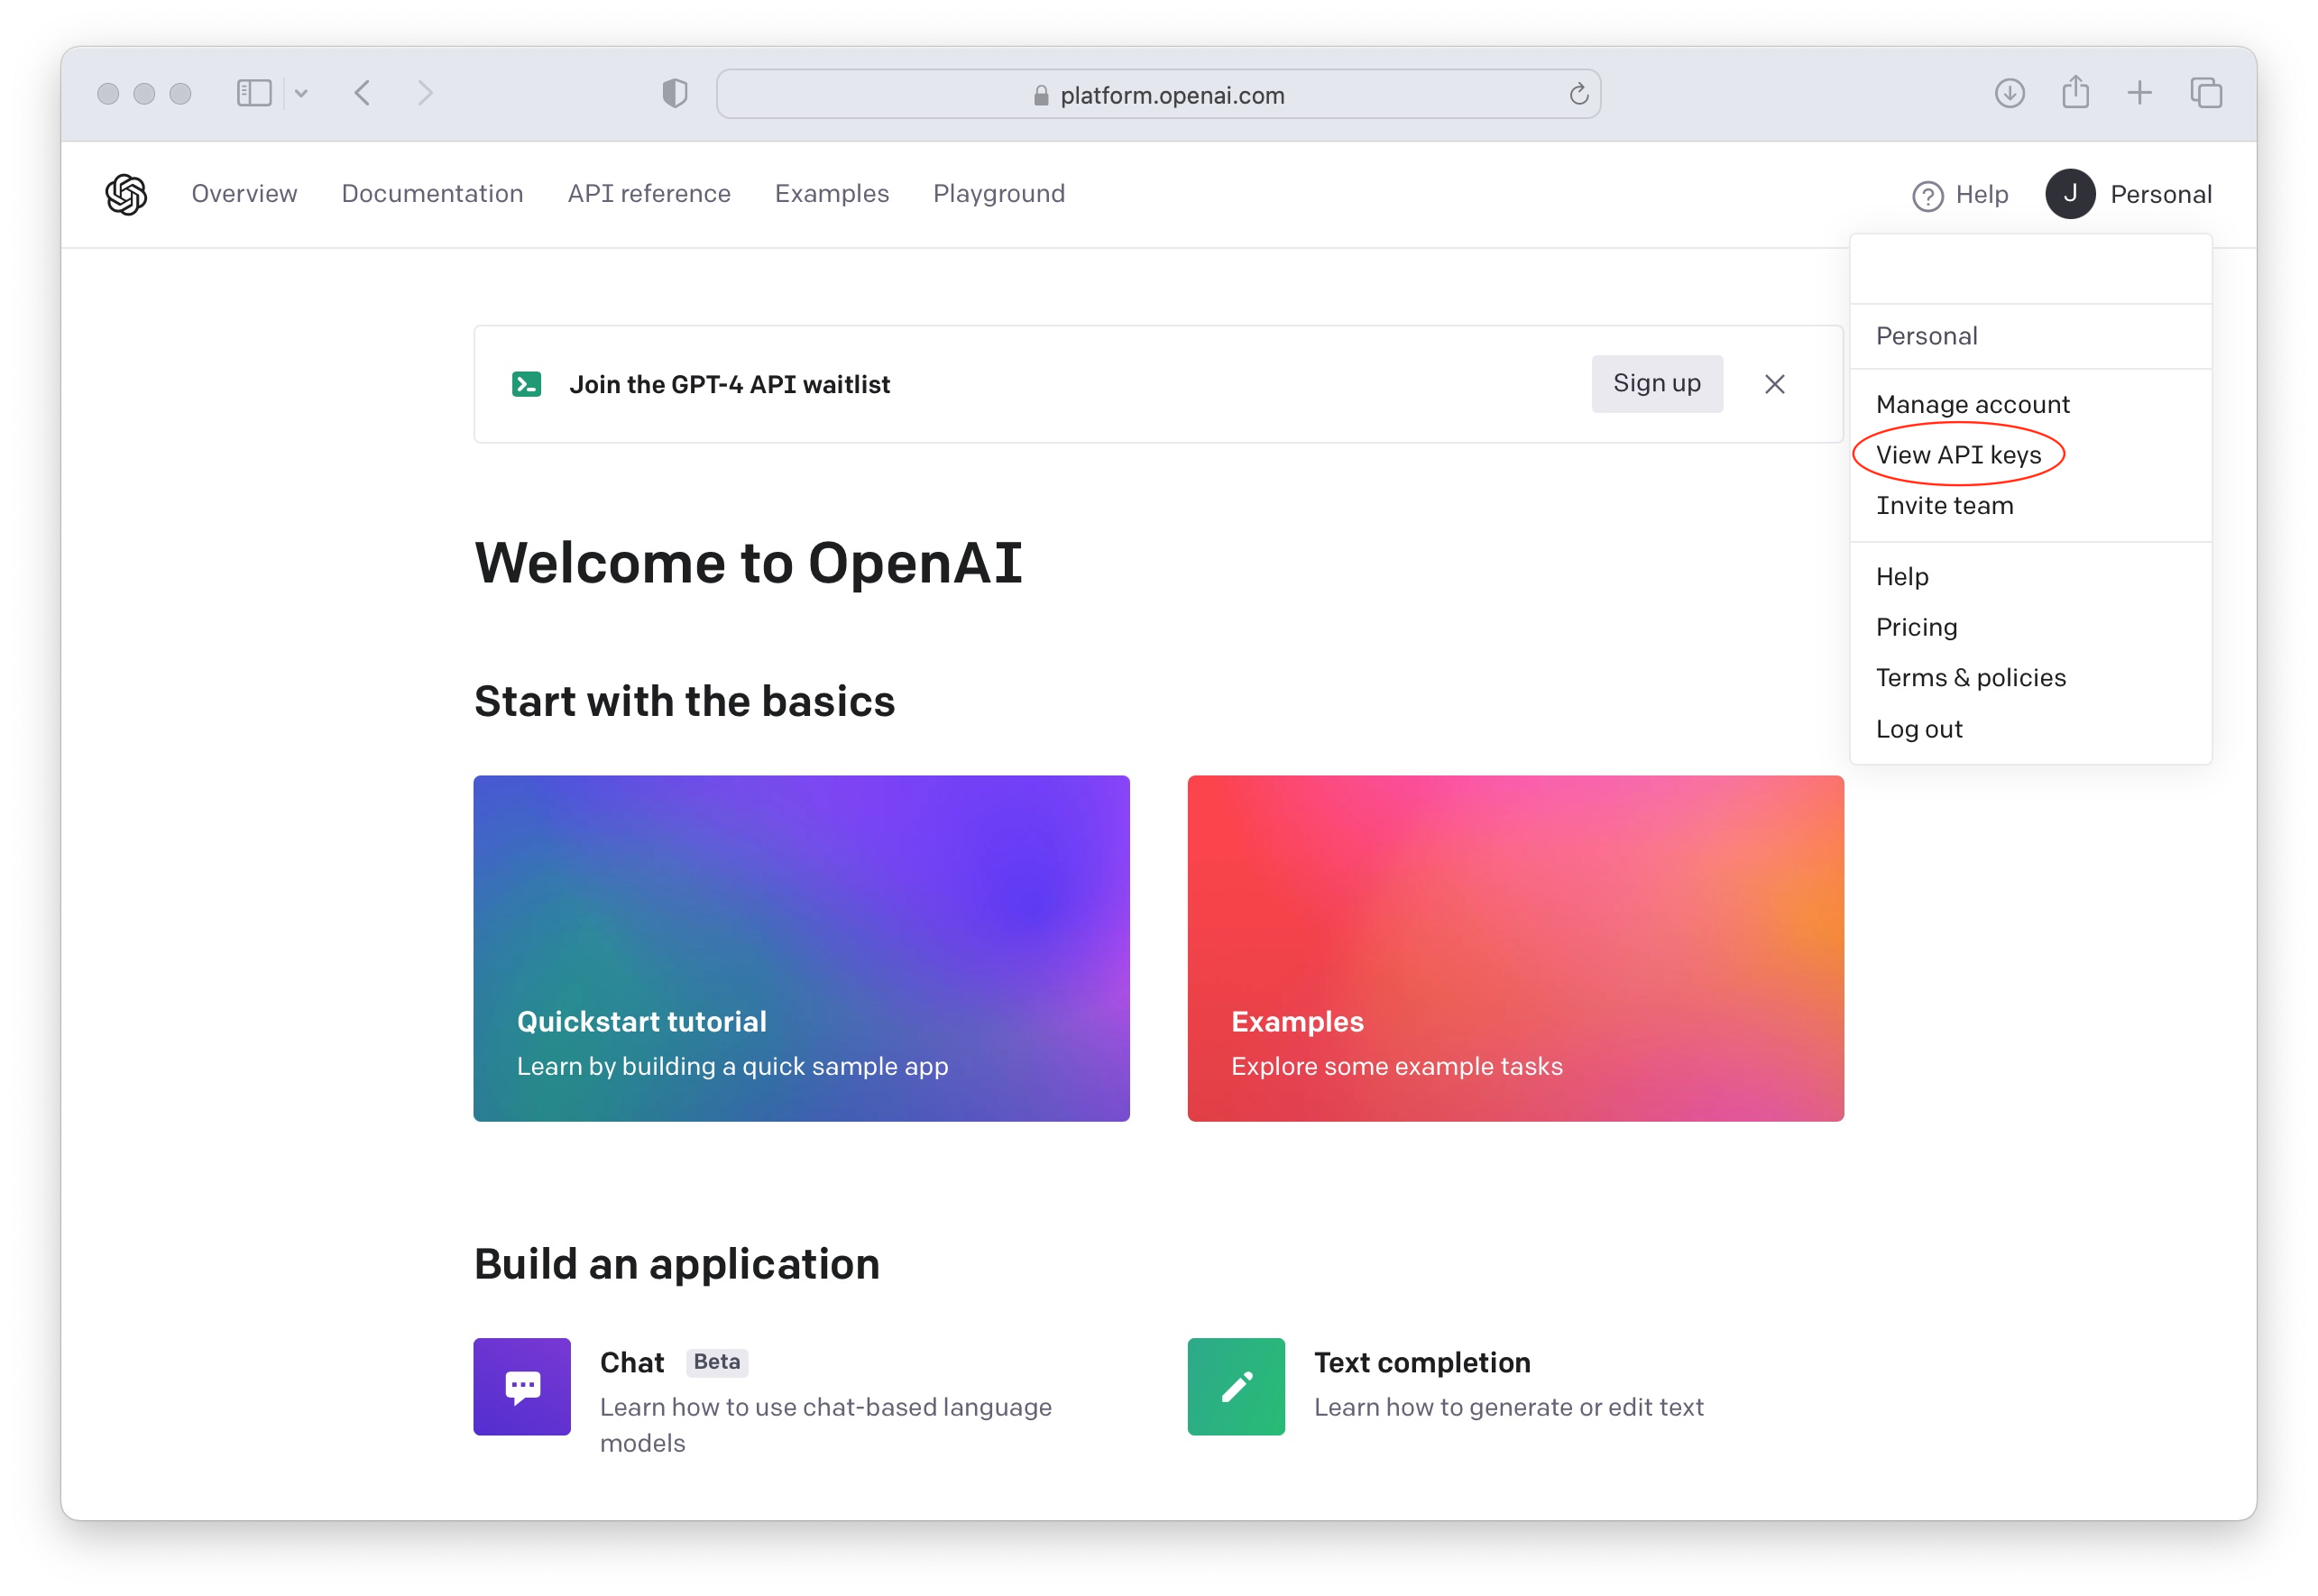
Now create a new API Key to use in your Social Intents Chatbot Settings for integration.

Add Payment Information to OpenAI
The ChatGPT API is only enabled on paid OpenAI plans. Otherwise you'll see an error message response like the following from our chatbot integration:

You can check and add your billing information here: OpenAI Payment Settings
Step 2: Register for a Social Intents Free Trial
If you don't already have an account with Social Intents, simply register for a Free Trial. We will use Social Intent's ChatGPT chat completions integration to enable the chat in your website.
Once you sign up you can pick an integration with Teams, Slack or a standalone account. The integrations will be used to invite in Live Chat agents when you want to escalate a website chat from the chatbot to live chat agents. You can answer chats in Microsoft Teams, Slack, Zoom, or Webex. Otherwise, you can answer the chats directly in our web-based dashboard.
After creating your Social Intents account and adding a live chat widget, we'll generate a code snippet for you that you will use to enable the live chat chatbot widget on your website.
Step 3. Add your OpenAI API Key to Social Intents
Next, go to the Live Chat Settings in Social Intents by clicking on My Apps, then Edit Settings of your chat widget. Then, click on the Chatbot Settings tab.
In your Chatbot Settings name your bot, choose an avatar for the chat bot and select Chatbot Type of 'ChatGPT with OpenAI'.
You can then decide how you want your chatbot to be invited into the chat. You can have a chatbot only, then invite agents later, have it pick up only when your live chat agents are offline or miss a chat, or join the same time your agents join.
For ChatGPT Model, you can choose any of the models the OpenAI supports with the Chat API: https://platform.openai.com/docs/guides/chat
Copy your OpenAI API Key into the field called: ChatGPT API Key.

Next you can customize your ChatGPT Welcome text with a Default Welcome Response, and Quick Reply buttons to help direct your users.
The Human Escalation trigger phrases can be used to match on user intent when they want to reach to a live agent. When one of these phrases is matched, we invite your human agents by sending Live Chat Invites to Microsoft Teams, Slack, Zoom, or Webex.
Once your agents answer the chats, then the bot drops out of the conversation.
Make sure to customize the ChatGPT Instruction Phrases to point to your website url to help guide ChatGPT on the types of answers to provide.

Want more info on Chatbot Settings?
If you'd like more details on each Chatbot Settings field, you can check out this article:
https://help.socialintents.com/article/200-chatgpt-chatbot-settings
4. Train your AI Chatbot on your Website Content
Now, you can train ChatGPT with your own content. Simply click on the 'Train your chatbot' button in the chatbot settings and you'll be taken to a page where you can list URL's you can use to train the bot.
Enter a base domain or individual urls to add as content to train. Then click Train All to train your ChatGPT chatbot on your own content.

Now your chatbot will answer questions specific to the content you've provided it!
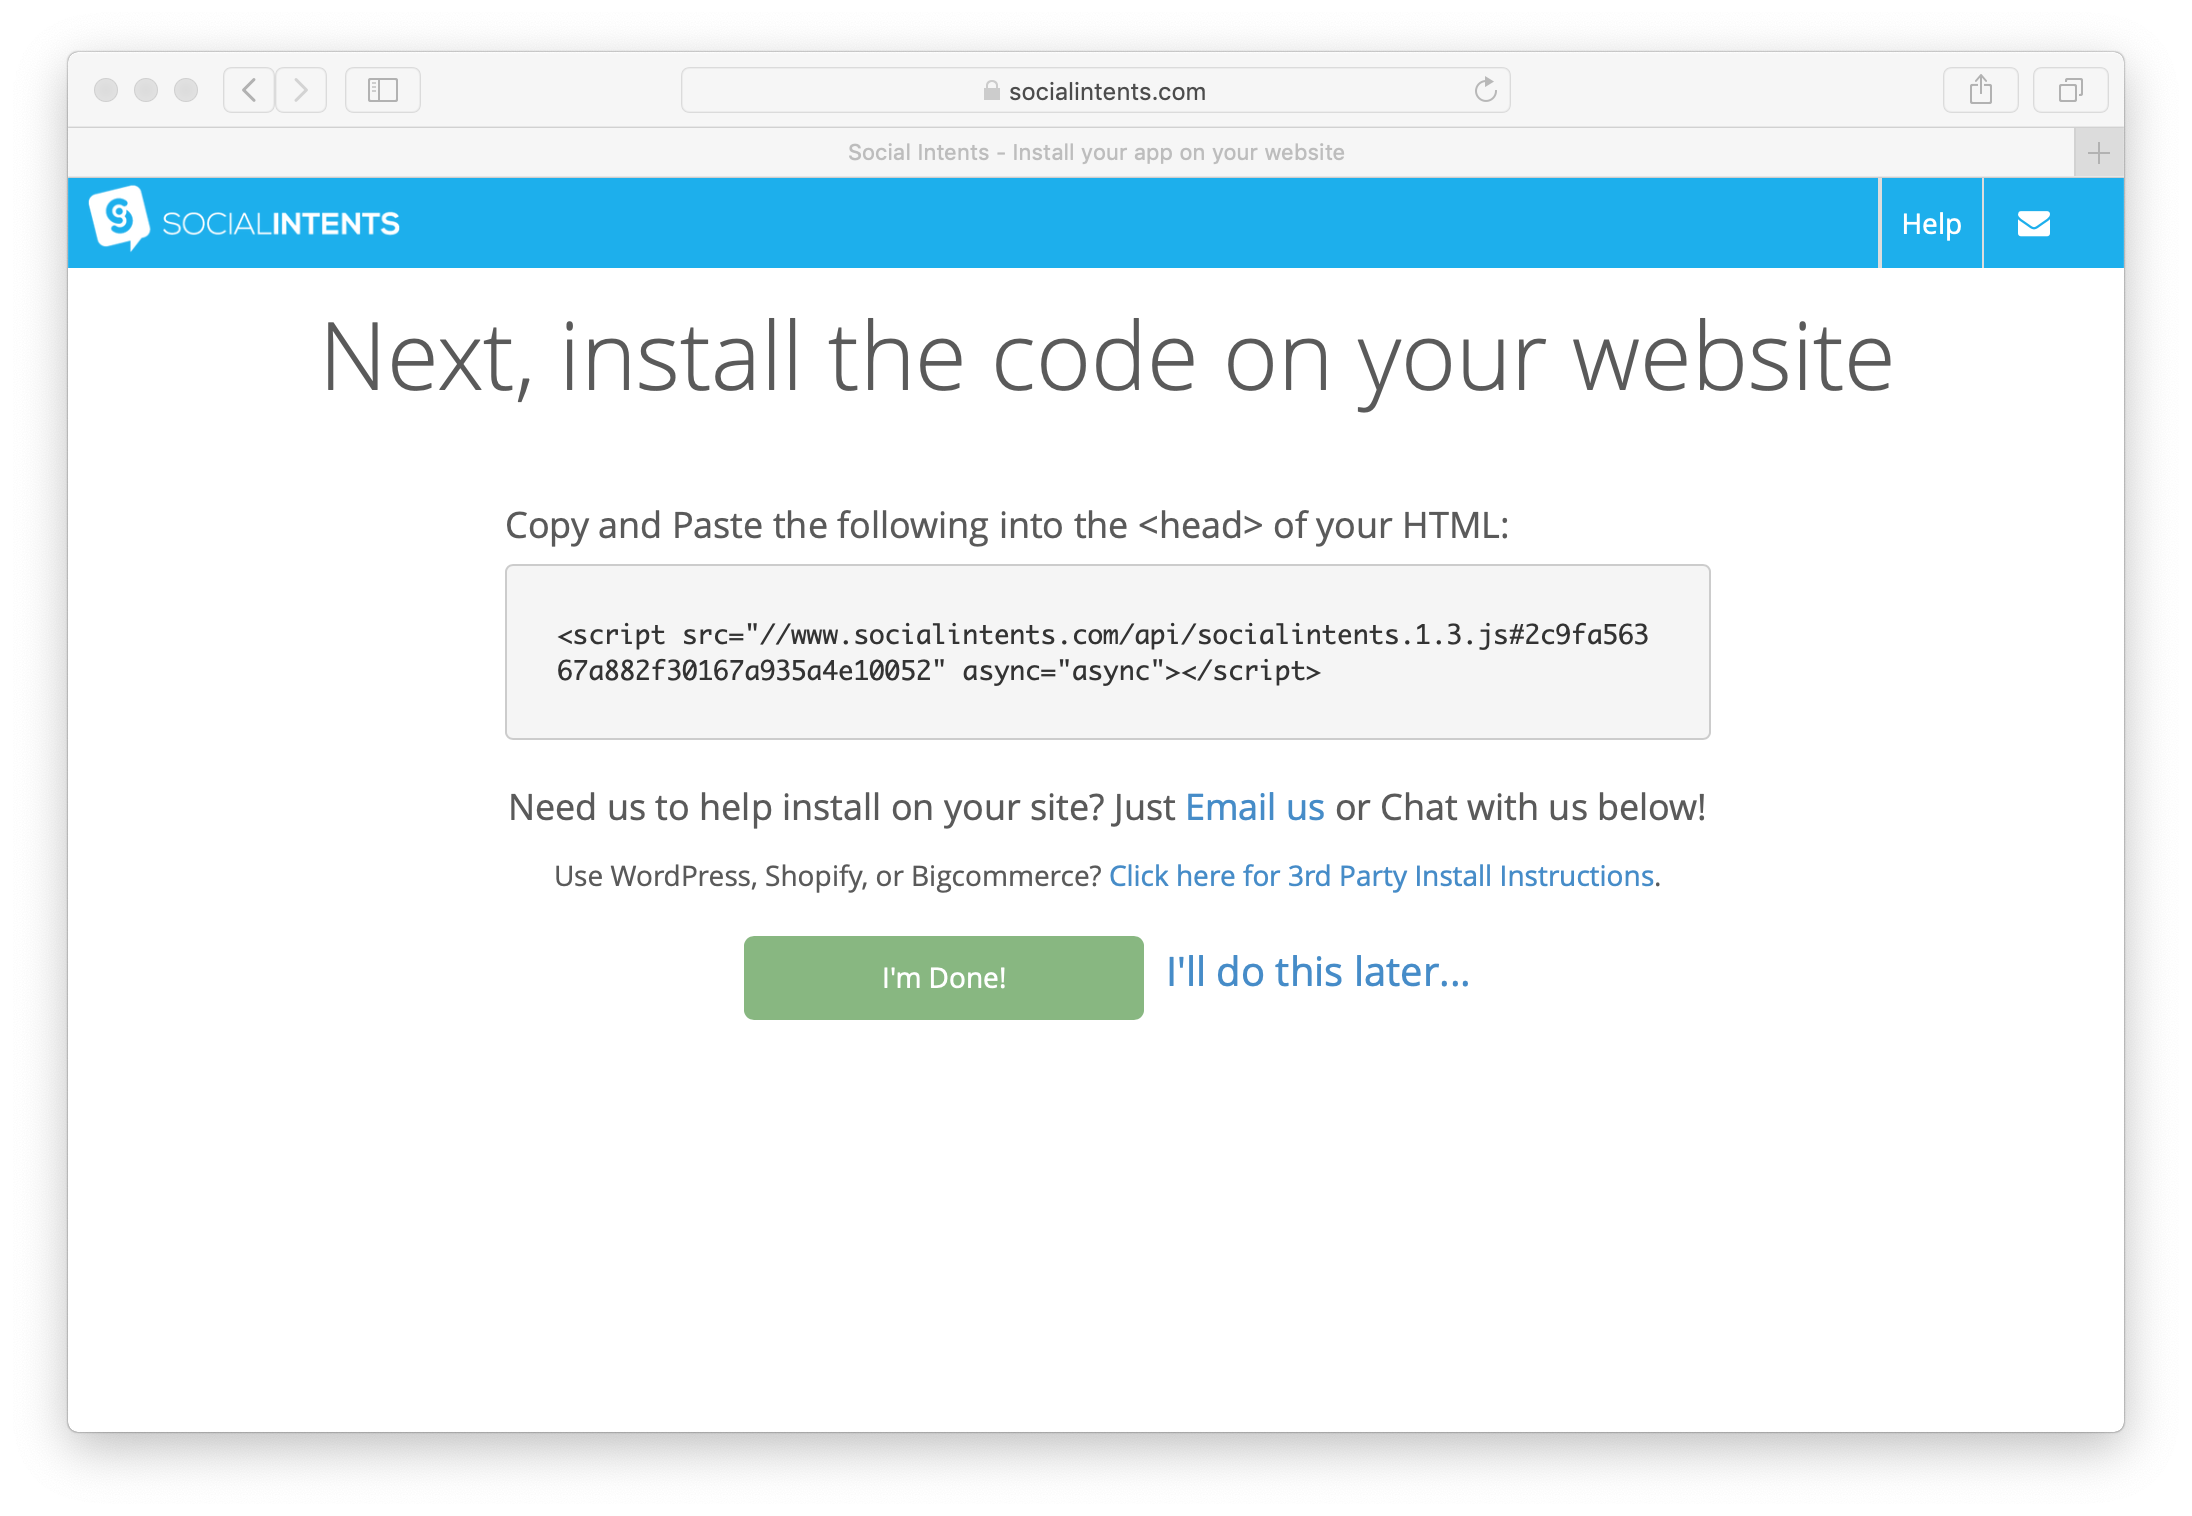
5. Copy your Live Chat Code Snippet to your Website
Now just copy the Live Chat code snippet to your website to enable the ChatGPT chat on your site.
 Grab your code and add to your html template:

That's it! Your ChatGPT Chatbot is added on your website!
Now your website chatbot powered by ChatGPT is enabled on your website and is ready to answer your visitor questions!

Get Started with ChatGPT on your website today!
Start your 14-Day Free trial at Social Intents to add ChatGPT to your website in under 5 minutes. It's as simple as adding your OpenAI API Key into your chatbot settings!