
How to Find your OpenAI API key for ChatGPT
Every OpenAI account includes secret API keys that let you connect to OpenAI's APIs from third-party tools and applications. You need this key any time you want to integrate OpenAI models into platforms like Social Intents, Zapier, or your own custom applications.
Your OpenAI API account is separate from your ChatGPT subscription like ChatGPT Plus, Pro, Business and subscriptions do not automatically include API usage. The API Keys and usage have their own billing, projects, and credentials.
What You Can Do with an OpenAI API Key
GPT Text, Vision, and Reasoning Models
You can build AI chatbots, customer-support agents, content tools, coding assistants, and other applications using OpenAI's current GPT models.
As of September 2026, OpenAI's primary model family includes:
- GPT-5.6 Sol for complex professional work, reasoning, and coding
- GPT-5.6 Terra for a balance of intelligence and cost
- GPT-5.6 Luna for cost-sensitive, high-volume applications
Current GPT models can process text and images and are available through the Responses API.
Responses API and Agent Tools
The Responses API is OpenAI's preferred API to use for new projects. It supports conversational apps and agent-like workflows with tools such as the following:
- Function calling
- Web search
- File search
- Code Interpreter
- Computer use
- Image generation
- Remote MCP servers
The older Chat Completions API remains supported, but OpenAI recommends the Responses API for new integrations. The Assistants API is now categorized as a legacy API, so new applications should generally use the Responses API instead.
Image Generation and Editing
Generate and edit images using the GPT Image models. The current primary image model is GPT Image 2, with the model ID gpt-image-2.
OpenAI supports both a dedicated Images API and image-generation tools within the Responses API. Some image models may require API organization verification.
Video Generation
You can create AI-generated video using the Sora API. These models include:
sora-2sora-2-pro
Sora 2 Pro is intended for higher-quality production output and supports higher-resolution exports.
Realtime Voice Applications
Use the Realtime API to build low-latency voice assistants, phone bots, live translators, and speech-to-speech applications.
Realtime applications can connect through technologies such as WebRTC, WebSocket, and SIP.
Speech-to-Text Transcription
Convert recorded or live audio into text using models with:
gpt-4o-transcribegpt-4o-mini-transcribegpt-4o-transcribe-diarize
Embeddings
Create vector representations of text for:
- Semantic search
- Retrieval-augmented generation
- Content recommendations
- Similarity matching
- Classification
- Clustering
Current embedding models include text-embedding-3-small and text-embedding-3-large.
Content Moderation
Analyze text and images for potentially unsafe content using the omni-moderation-latest model.
Does One API Key Work with Every OpenAI Model?
A single project API key can authenticate requests to multiple OpenAI endpoints, but access is not automatically guaranteed for every model or service. Availability of models can depend on your API usage tier, available balance, and regional descriptions.
For better security and usage tracking, create a separate project and API key for each application or production environment.
Step 1: Sign up or Sign In to Your OpenAI Account
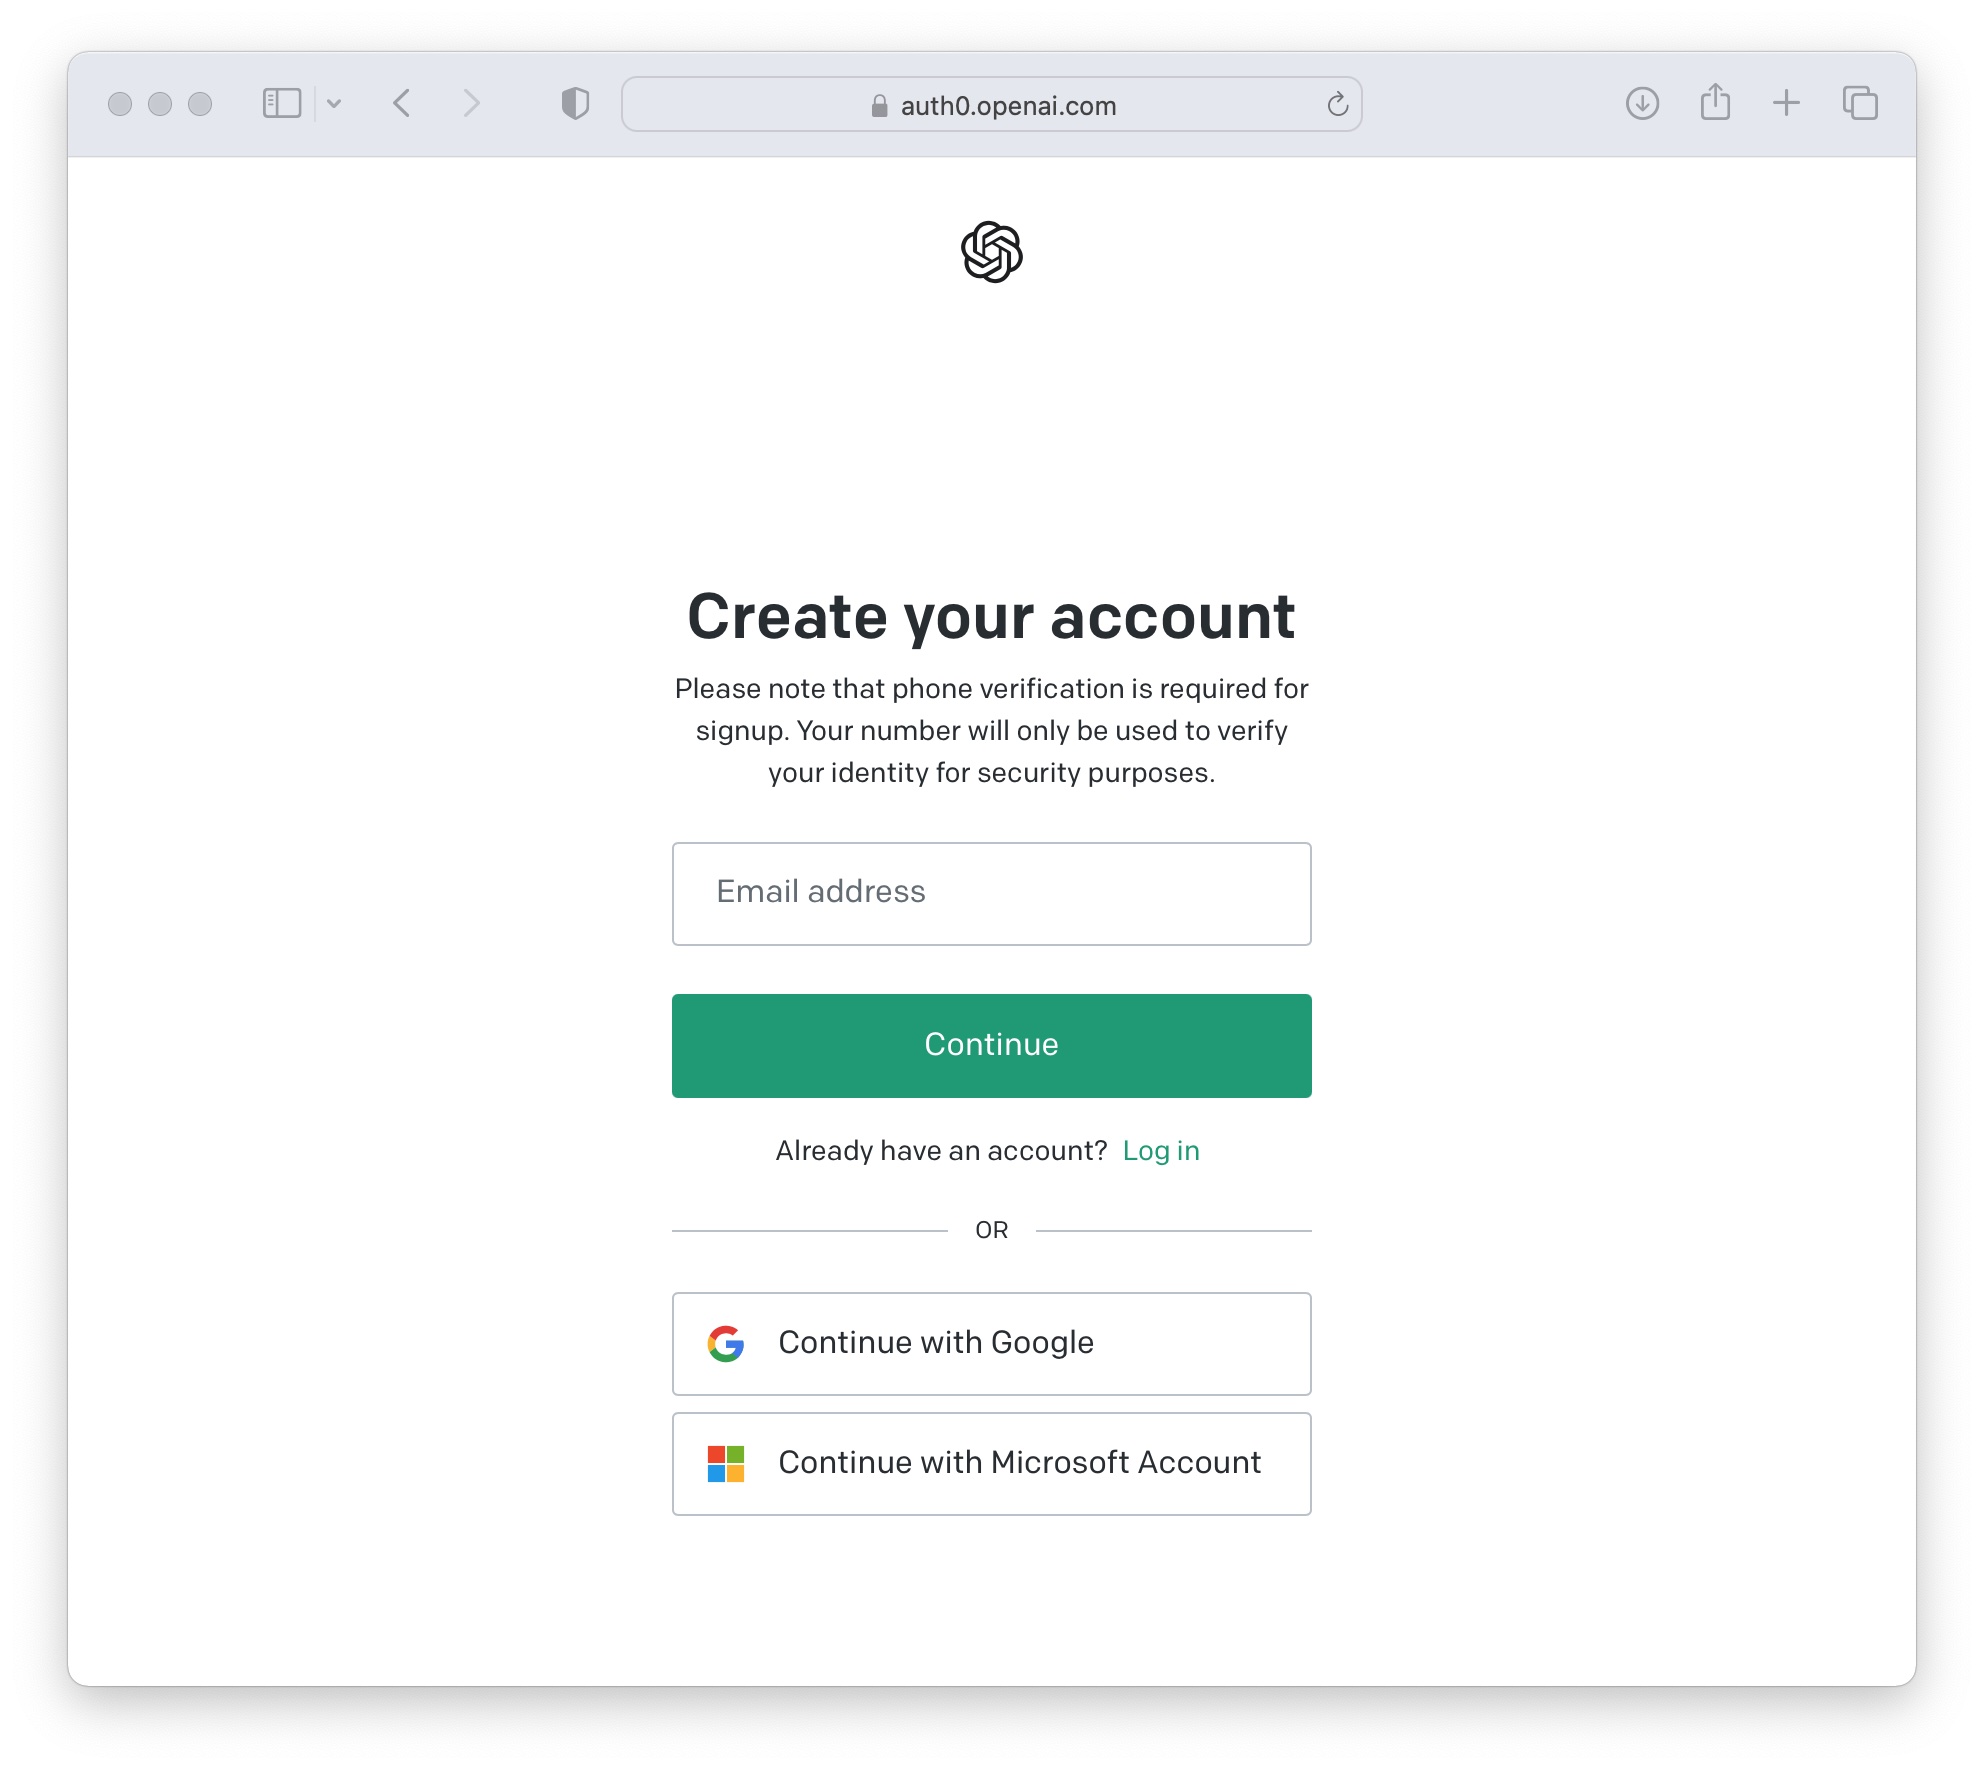
First sign in or sign up for your OpenAI account. You can find sign up and login link here: https://platform.openai.com/
Step 2: Open the API Keys Page
Once logged in, you will see the API Keys listed in the left side panel as highlighted in the screenshot below.

Step 3: Create a New Secret Key
On the API Keys page, you will see a list of existing API Keys. Just select 'Create new secret key' to generate a new key to use your client integrations like when you want to use ChatGPT into your Live Chat chatbots.

Step 4: Copy and Save Your Key
Then click the green icon on the popup page to copy your OpenAI secret key to a safe place.

Make sure to copy the value of your key and save it before closing this screen.

Step 5: Enable Billing (Required for API Access)
OpenAI requires a payment method on file before your API key will work otherwise you will get errors whenever you access any of the APIs.
If you have not added billing yet:
- Select your profile on the bottom right, then Go to Organization Settings > Billing in the OpenAI dashboard
- Click Add payment method and enter your card details
- Optionally set a monthly usage limit to control costs
New OpenAI accounts typically receive free API credits to get started. Once those credits are used, API calls will be charged to your payment method.
If you're experiencing issues logging into or setting up ChatGPT, make sure you have follow these OpenAI login troubleshooting tips.
Using Your OpenAI API Key with Social Intents ChatGPT Chatbot
Once you have your API key, you can use it to power an AI chatbot on your website through Social Intents:
- Log in to your Social Intents dashboard
- Go to My Widgets and select your chat widget
- Open the AI Chatbot Settings tab
- Select ChatGPT as the AI engine
- Paste your OpenAI API key into the API Key field
- Choose your model, add training content, and save
Tip: On any paid Social Intents plan, you can use GPT-4o without providing an API key — these models are included free with your subscription. You only need an OpenAI API key if you want to use a different OpenAI model.
Troubleshooting
API key not working?
- Make sure billing is enabled on your OpenAI account at platform.openai.com/settings/organization/billing
- Check that your API key has not been revoked — go to the API Keys page and verify it is listed as active
- If you are getting a 401 error, generate a new key and update it in your integration
ChatGPT login issues?
- Clear your browser cache and cookies, then try signing in again
- If you signed up with Google or Microsoft, make sure you are using the same login method