How to Embed Live Chat in Webflow Website
Easily add Live Chat to your Webflow website by following these 3 simple steps.
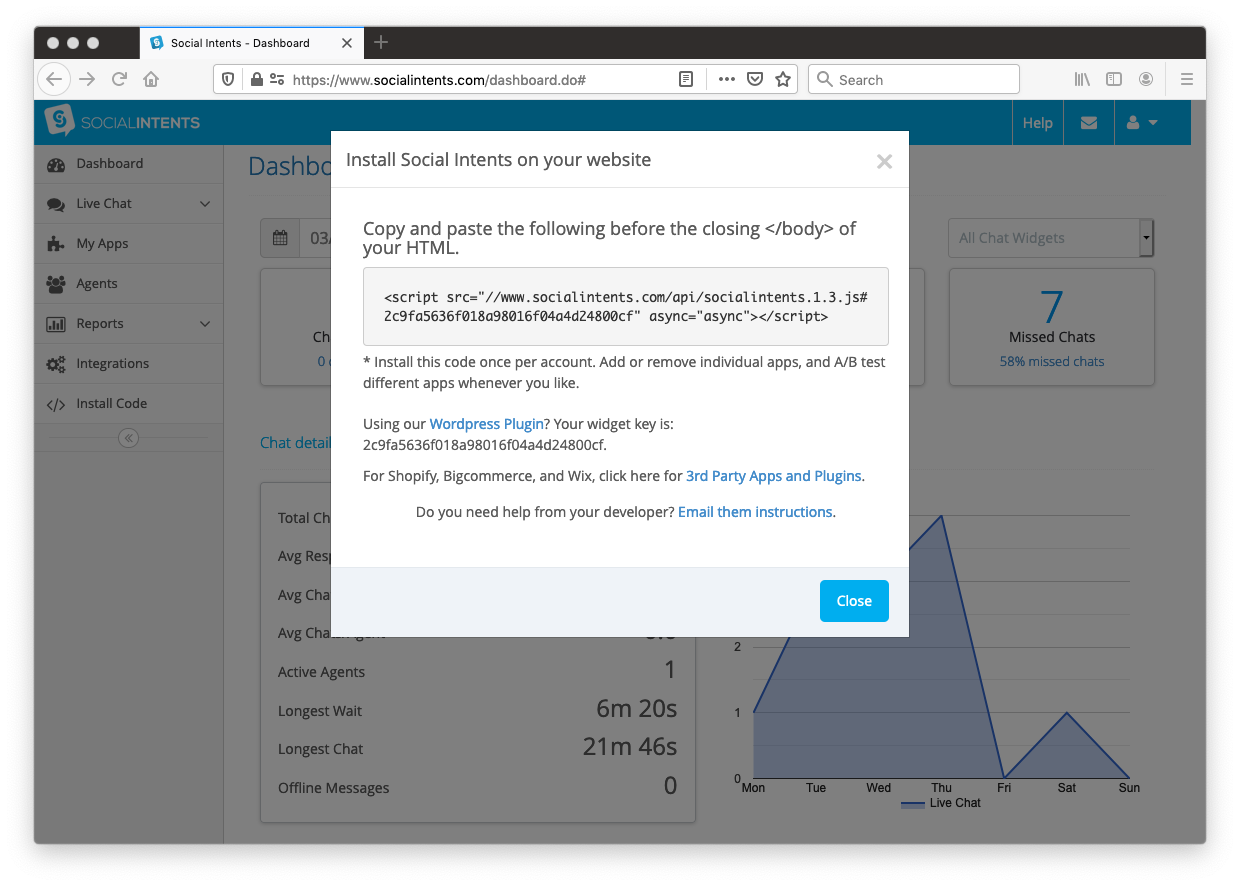
Step 1: Register for your Live Chat Account and grab your Live Chat code snippet
First, you can register for a free trial and choose an integration with Teams, Slack, Zoom, or Webex.
You can also use this link: Set up my free trial
Step 2. Add your Custom Live Chat code snippet to a Webflow Embed Element
Now add your code snippet to your Webflow Embed element. Go to your Webflow Designer for the website you want to add the live chat to.

Click on the '+' button to open the elements and scroll down to select the Embed element. Note that you must be on a paid plan to be able to use this element.
 Then paste the code snippet you copied in Step 2 into the HTML Embed Code Editor.

Step 3. Publish your Webflow website with your Live Chat
Click Save & Close, then Publish to activate Live Chat on your Webflow website.

Notice that you can move the location of the chat button and chat widget above the 'Made in Webflow' icon if you want by also adding this style to the embed code:
<style> #si-wrapper .silc-btn { bottom: 55px !important; right: 25px !important; } #siWidget-chat { bottom: 120px !important; } </style><br>
Happy Chatting!
Want to learn more about Live Chat by Social Intents? Get started for Free!