Understanding Zoom OAuth Scopes for Live Chat
When adding the Live Chat app to Zoom, we request specific OAuth scopes to ensure the app functions properly across your team’s Zoom environment. These scopes allow us to provision your account, route messages correctly, and support live chat collaboration directly within Zoom Chat.
This guide explains when and why each scope is used, and what to expect during the installation and onboarding process.
1.0 Oauth and First Time Provisioning Flow
Scope Required: View All User Information
When you install the Live Chat app for Zoom for the first time, we use your name and email address (retrieved via this scope) to automatically create a trial account in Social Intents.
How it works:
- Start by clicking Add to Zoom either from the Zoom App Marketplace or our Zoom Live Chat landing page.
- Once you approve the installation, our system retrieves your Zoom user info and creates a trial account if one doesn’t exist.
- You’ll be redirected to the onboarding screen in Social Intents.
- Click “I’m Done” to complete the initial setup.
At this point, your Social Intents trial account is provisioned and ready to use with Zoom Chat.
You can start by clicking Add to Zoom here.

Once you trigger the oauth flow, we will look up the your info and create a trial account in Social Intents for this email address if it does not yet exist.
Upon successful provisioning, you’ll will see the first onboarding page:

Click I’m Done to move on.
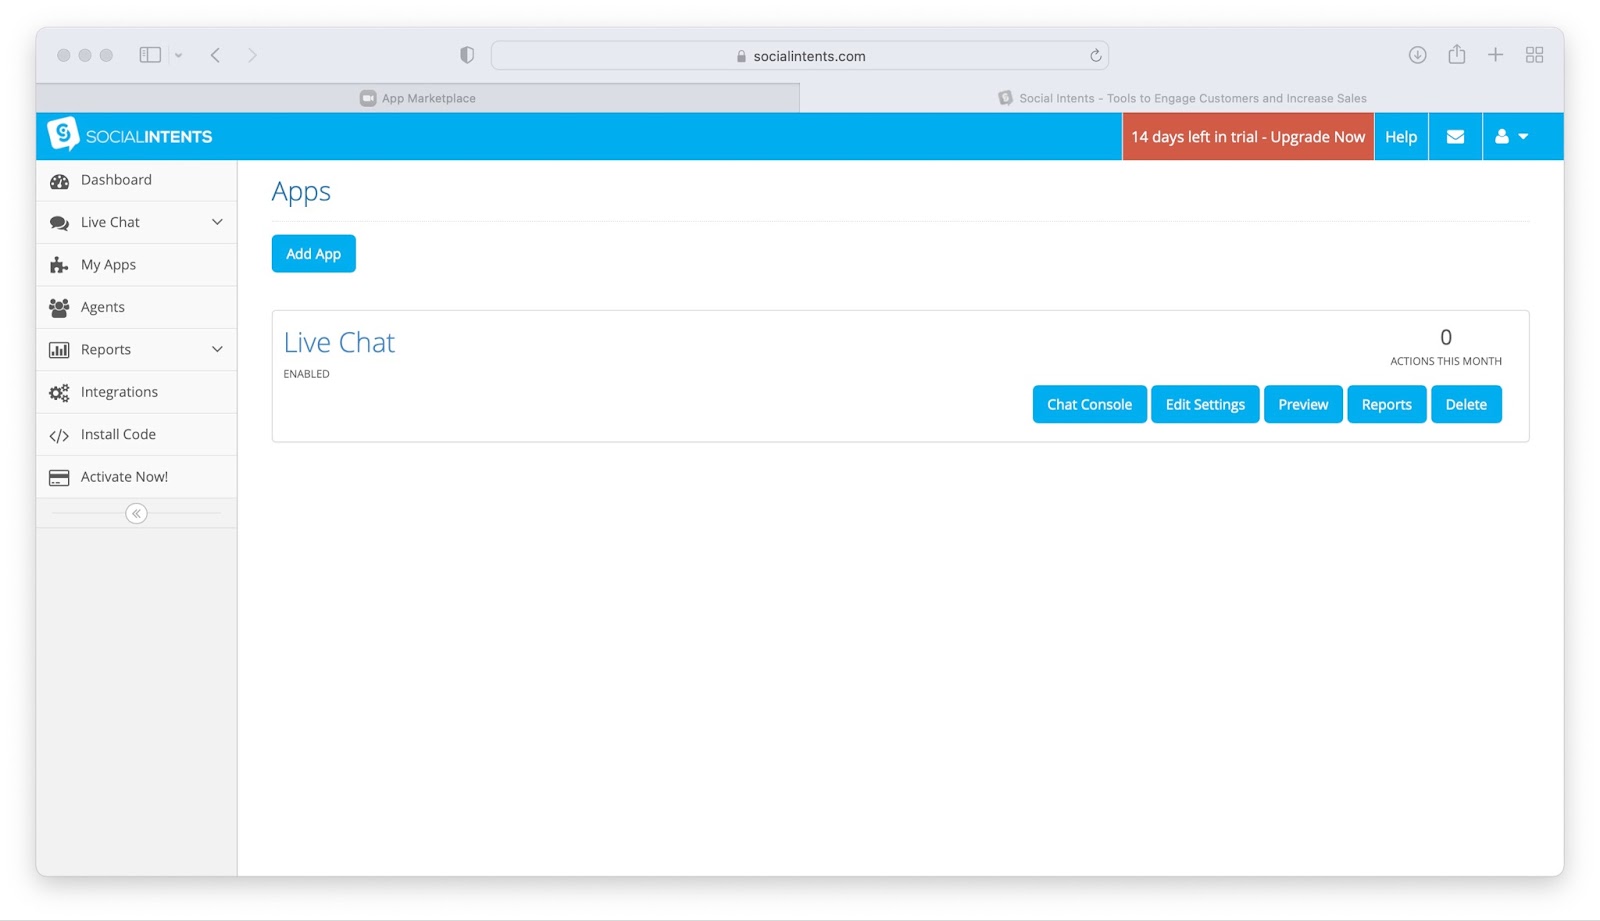
At this point, the new Social Intents trial account has been created by looking up the user info for the person who added the application to Zoom.
1.1 Listing Zoom Channels on the website
Scope Required: View and Manage All Users Chat Channels
This scope allows us to:
- Create a default Inbound Live Chat channel within Zoom
- Display available channels in your Live Chat settings
- Route website chats to your chosen Zoom channel
To verify:
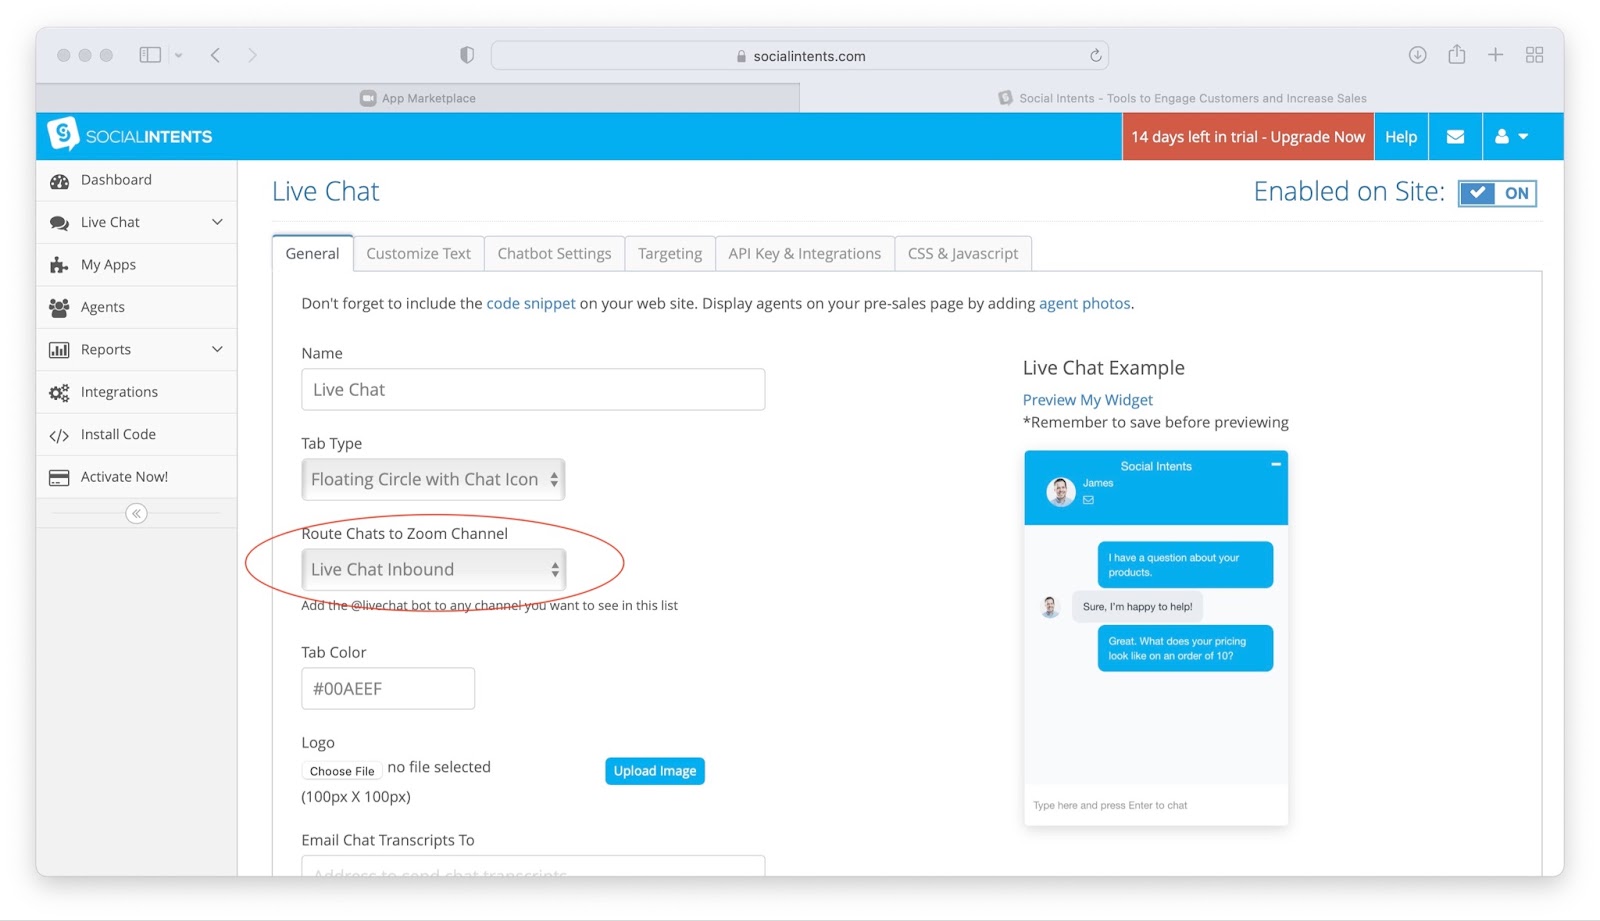
- Go to your Live Chat dashboard
- Click Edit Settings
- You’ll see a list of channels available for routing chats. These are retrieved using the Zoom Chat Channels API and your OAuth access token.
If the Live Chat Inbound channel appears in the dropdown, the scope has been used successfully.
Next we will go to the Zoom Client itself to verify functionality.
1.2 Welcome Message sent to Zoom
Scope Required: Enable Chatbot within Zoom Chat Client
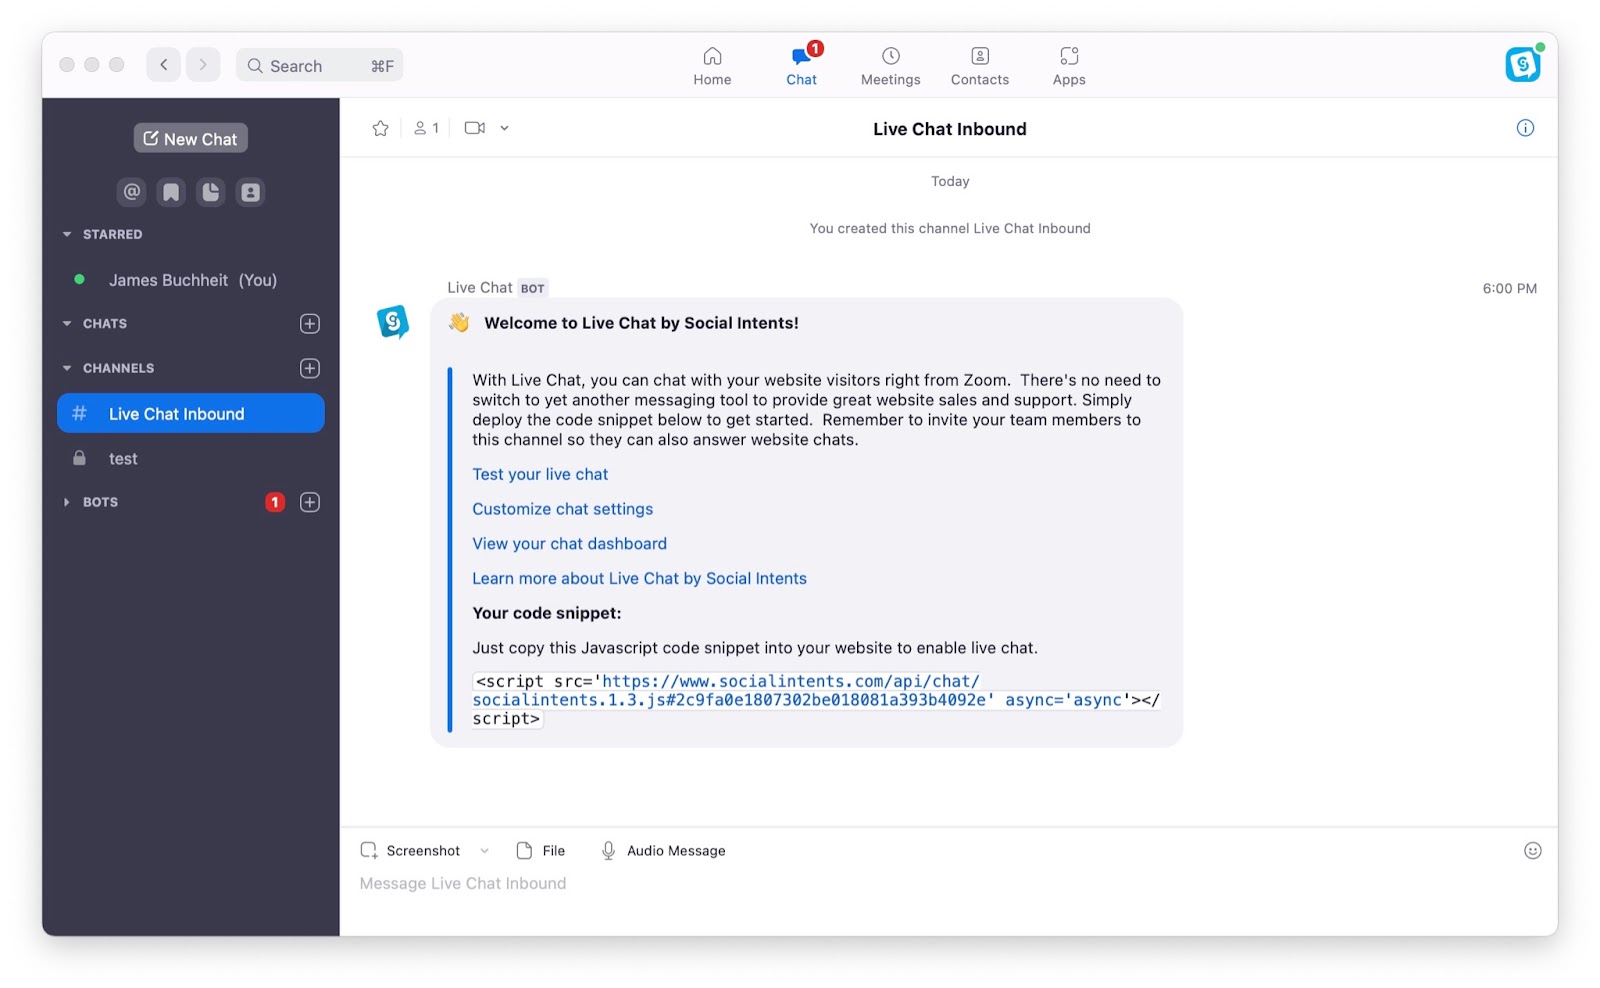
After installing the app, we automatically:
- Send a Welcome message to the Inbound Live Chat channel
- Send a direct message to the Zoom user who added the app
This confirms that the Live Chat bot is active and your Zoom Chat client is successfully integrated.
1.3 Test a Live Chat for the User who added the Live Chat app
Scopes Required:
Enable Chatbot within Zoom Chat ClientView All Users Chat Messages
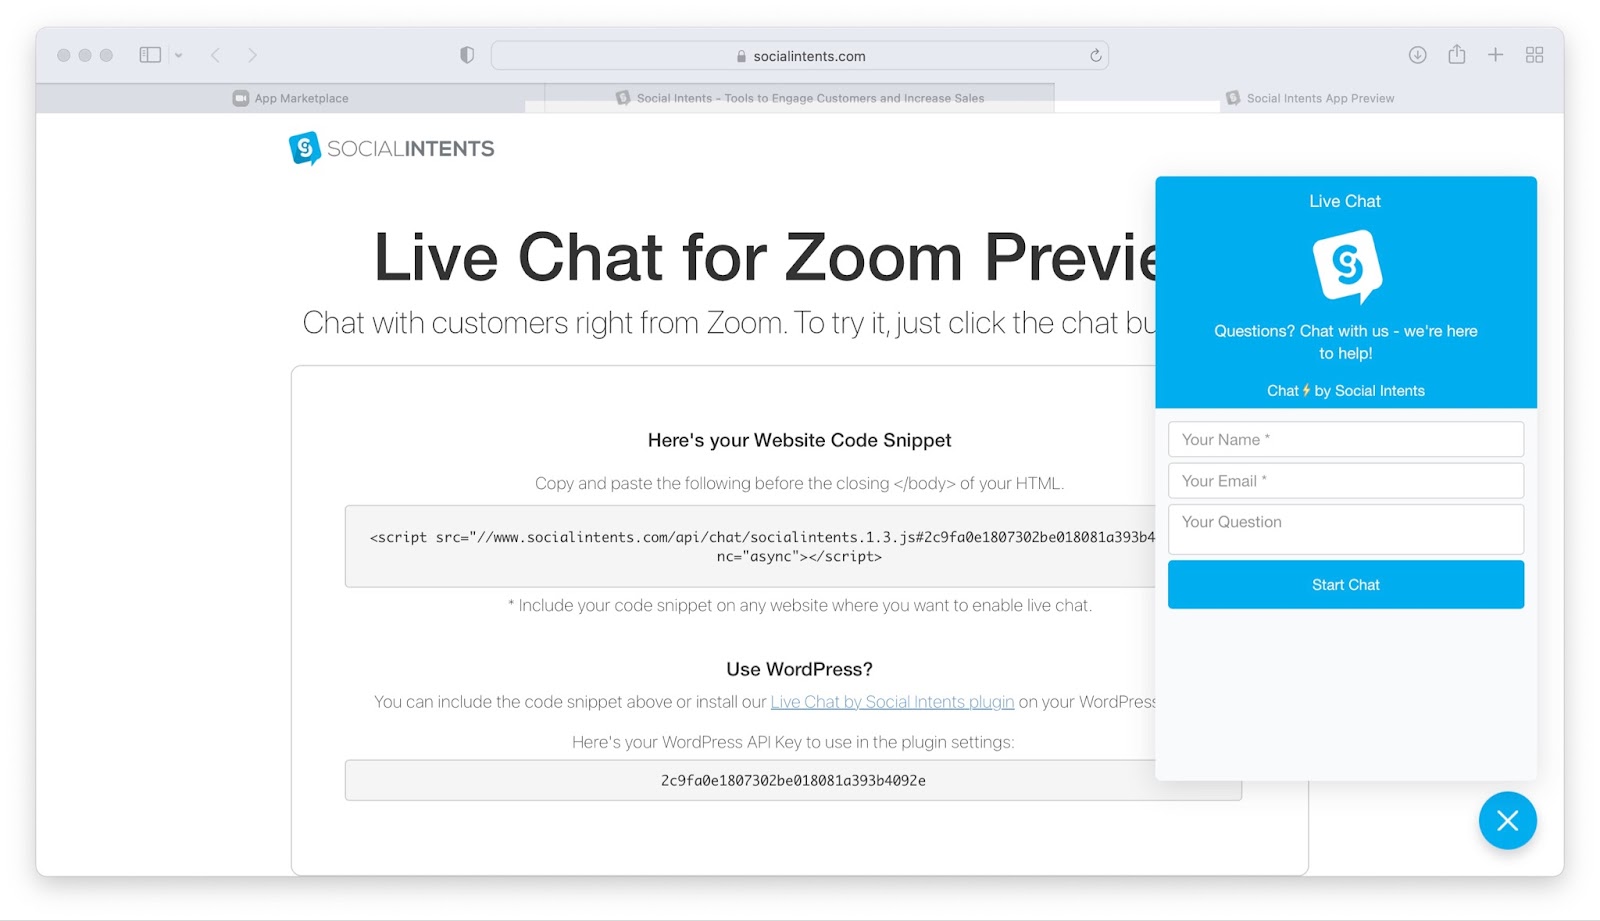
From the Welcome message, click “Test Your Live Chat”. This will launch the preview chat widget and send a sample visitor chat to Zoom.
What happens:
- A new live chat appears in the Inbound Live Chat channel
- Click Join Chat to act as an agent
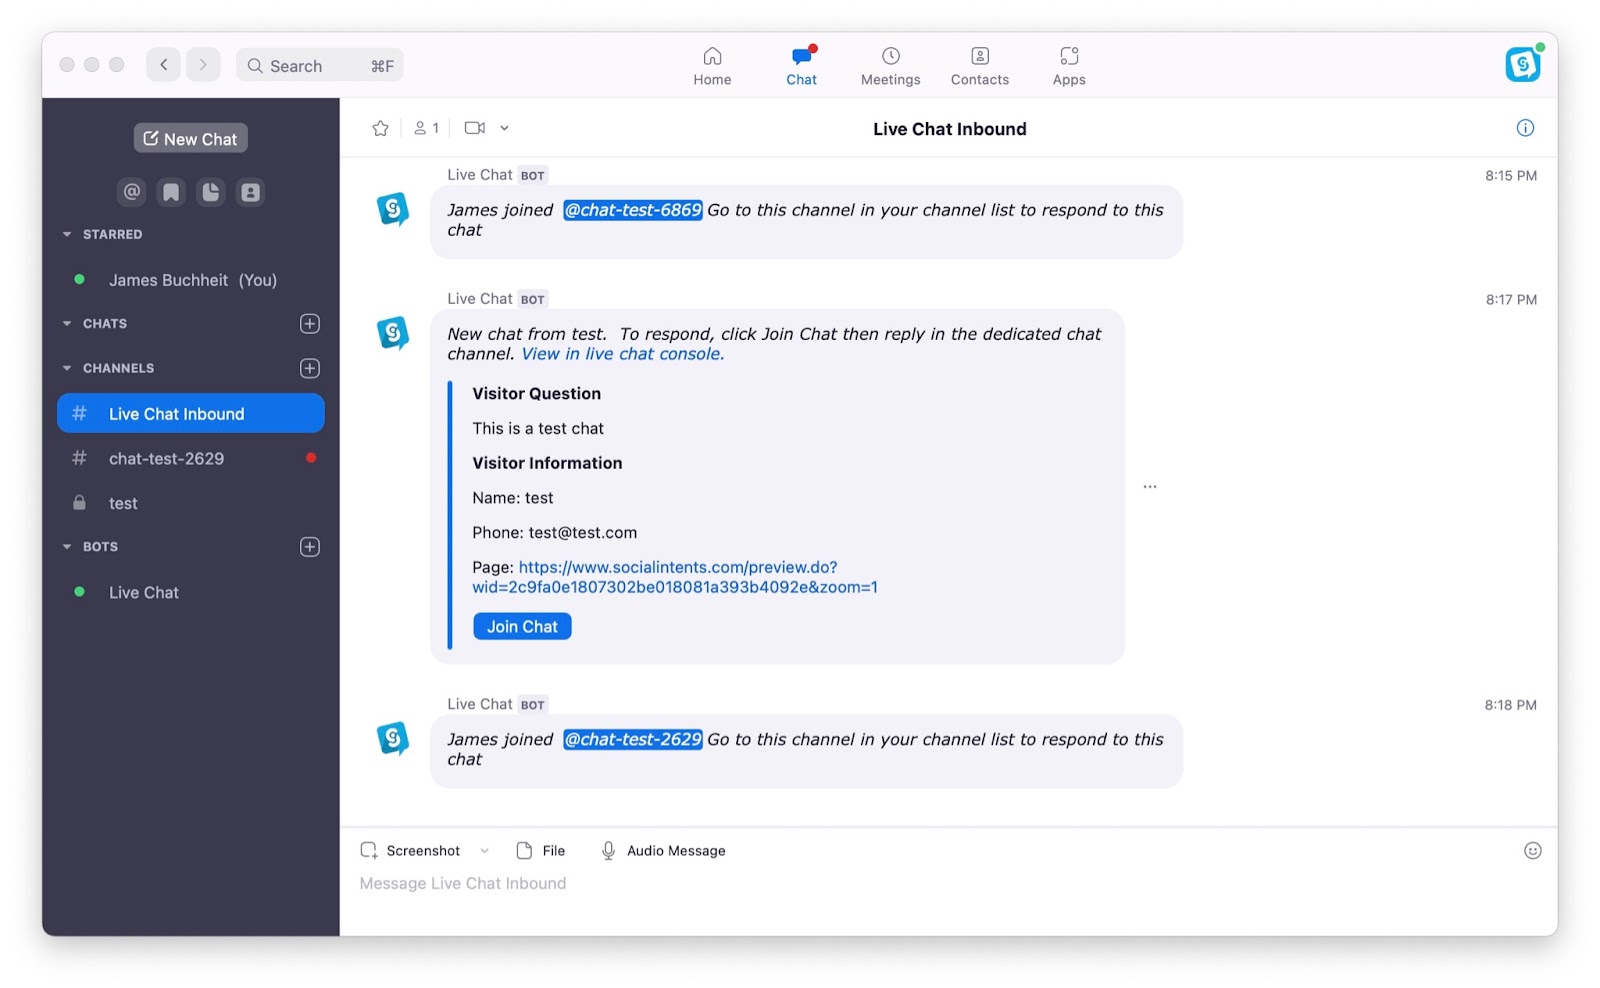
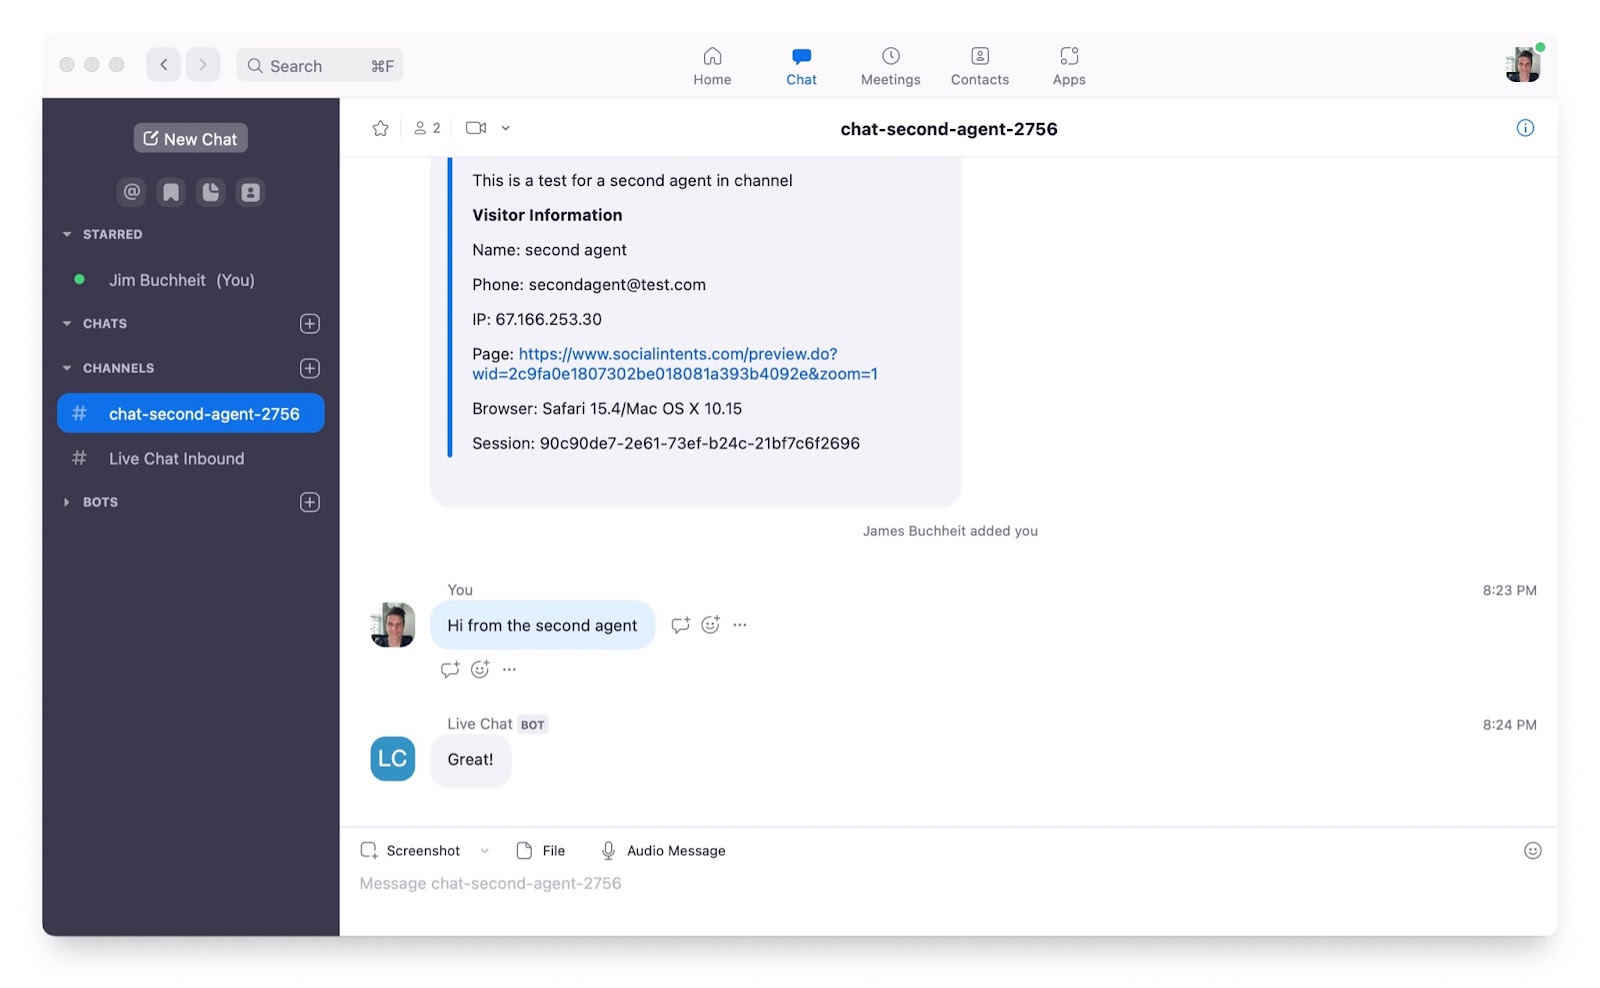
- A dedicated private channel is created for the chat session
- You’ll see a message confirming the chat session was joined, and can begin responding in this new channel
Each website chat is handled in its own Zoom channel, allowing multiple simultaneous chats to be managed in parallel.
You will see a new live chat request into the Inbound Live Chat channel:
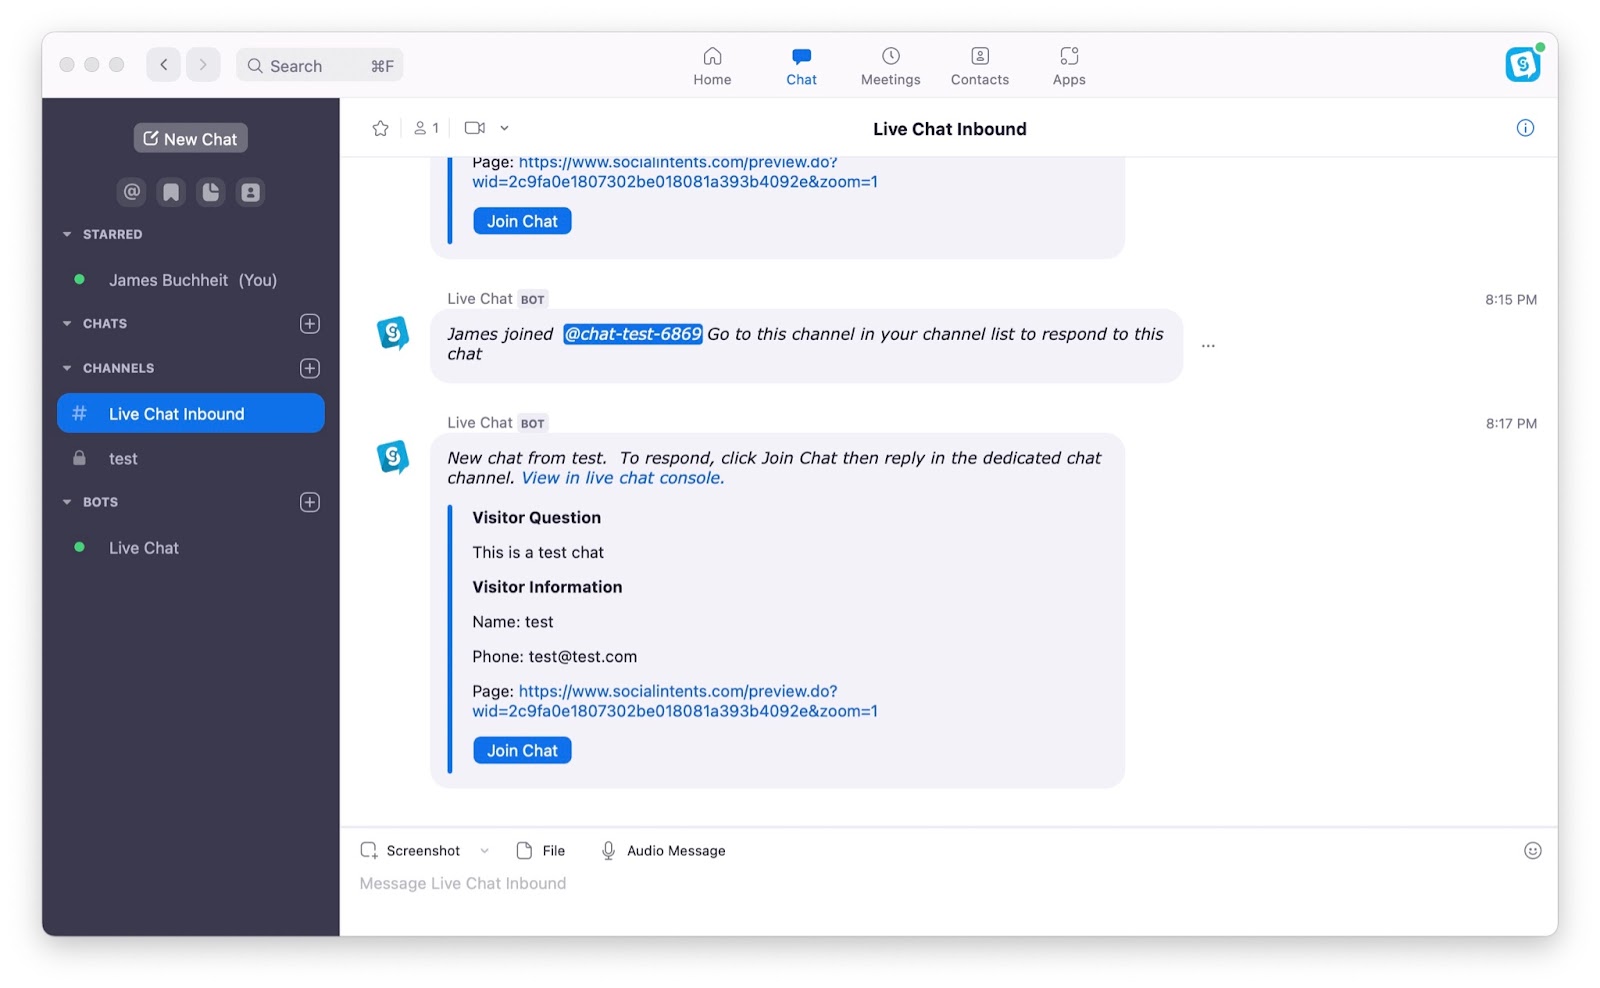
Click the ‘Join Chat’ button the join the chat as an agent.
Once you do this, you will receive a confirmation message and see a link to a dedicated live chat channel is created. We create a channel for each chat in order to handle multiple simultaneous website chats.
Now go to the newly created dedicated channel and respond to the chat here.
1.4 Test a Live Chat for additional agents
Scopes Required:
View All Users Chat MessagesEnable Chatbot within Zoom Chat ClientView All User Information
We use these scopes to support multi-agent chat routing within Zoom.
Here’s how additional agents can join and respond to chats:
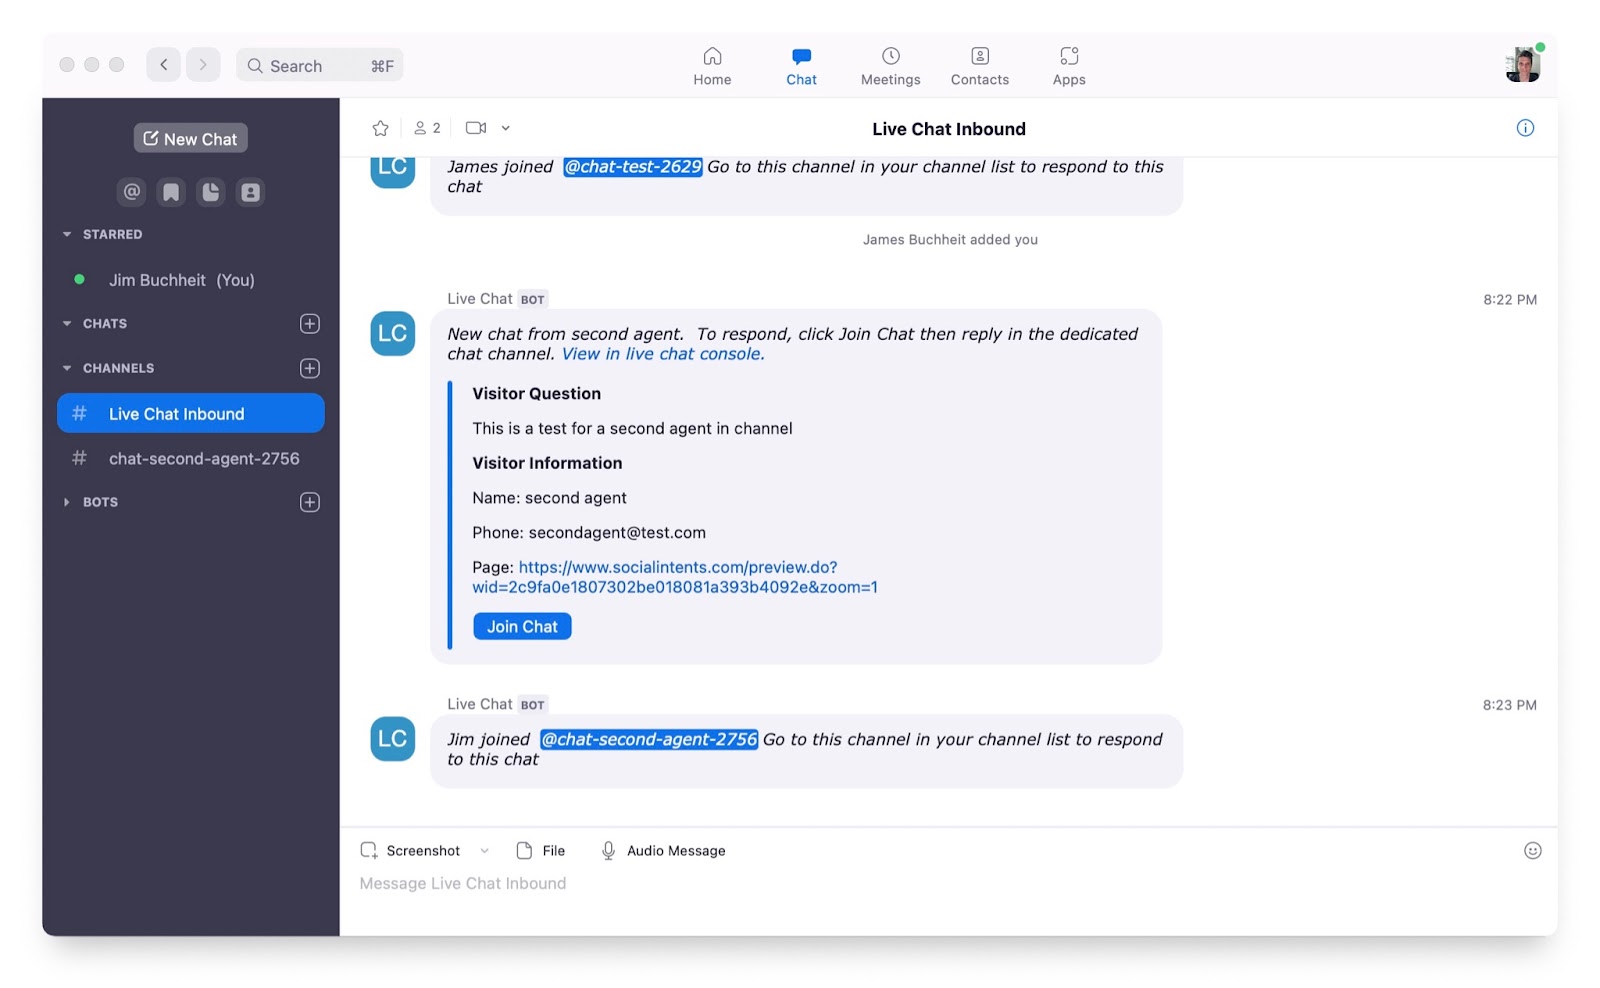
- Add a team member to the Inbound Live Chat Zoom channel
- That team member installs the app (if not already installed)
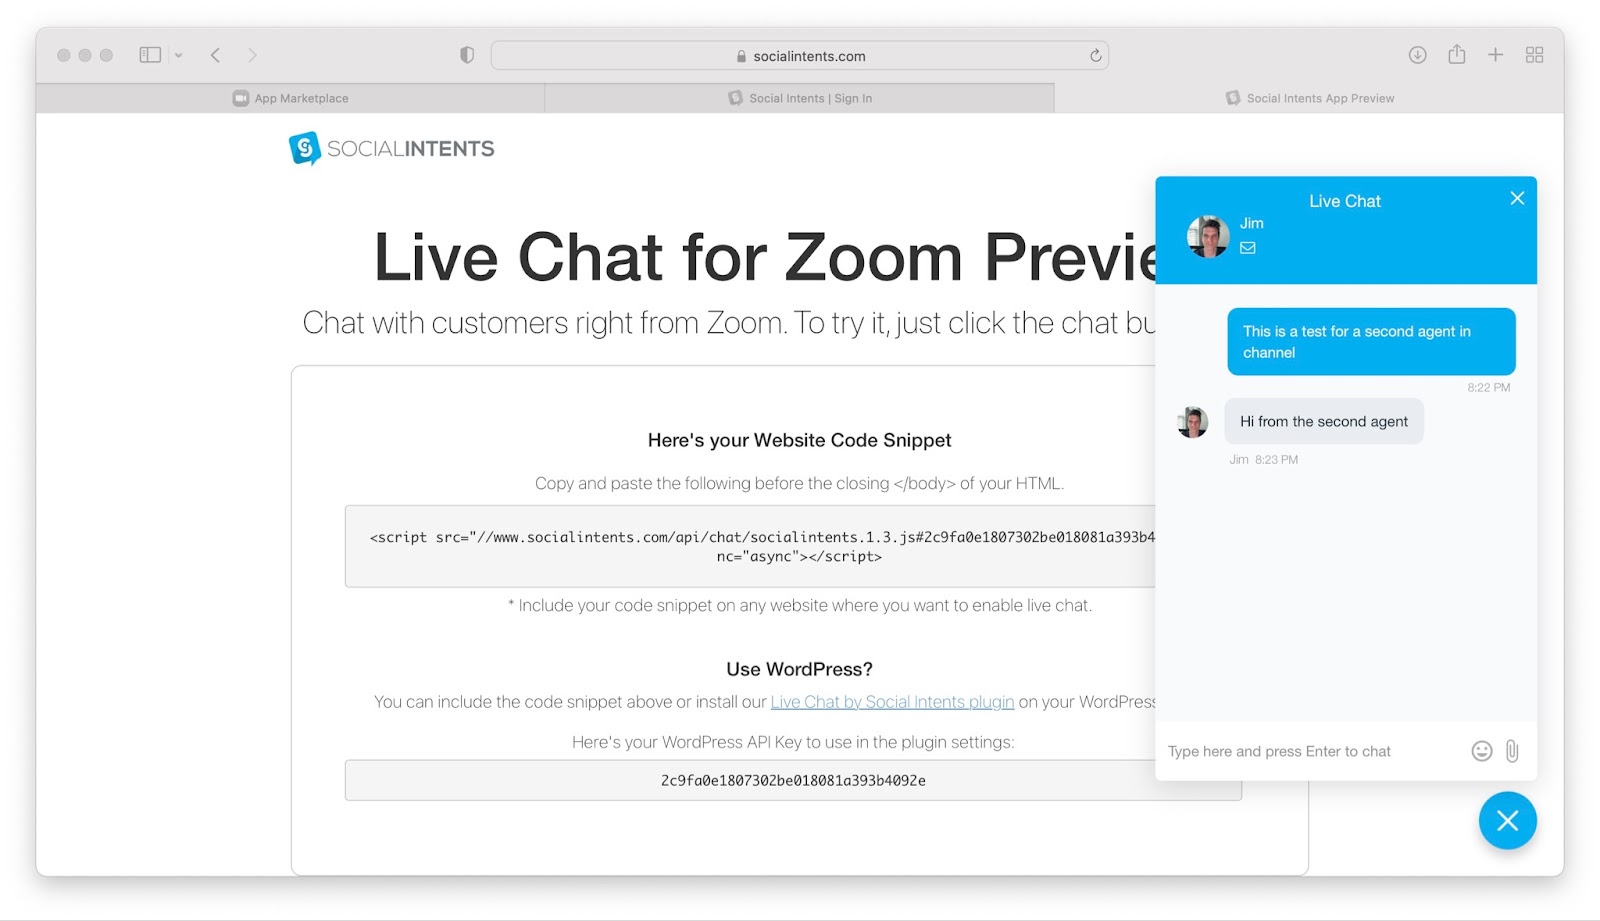
- A new visitor starts a live chat
- The additional agent clicks Join Chat
- A new dedicated channel is created where they can reply to the chat
- The agent’s reply appears instantly to the website visitor
This ensures that multiple agents can handle separate or shared chat sessions based on their Zoom channel access.

As the new user, click Join Chat on the live chat inbound that was requested.
Then click over to the newly created channel and respond to the chat.
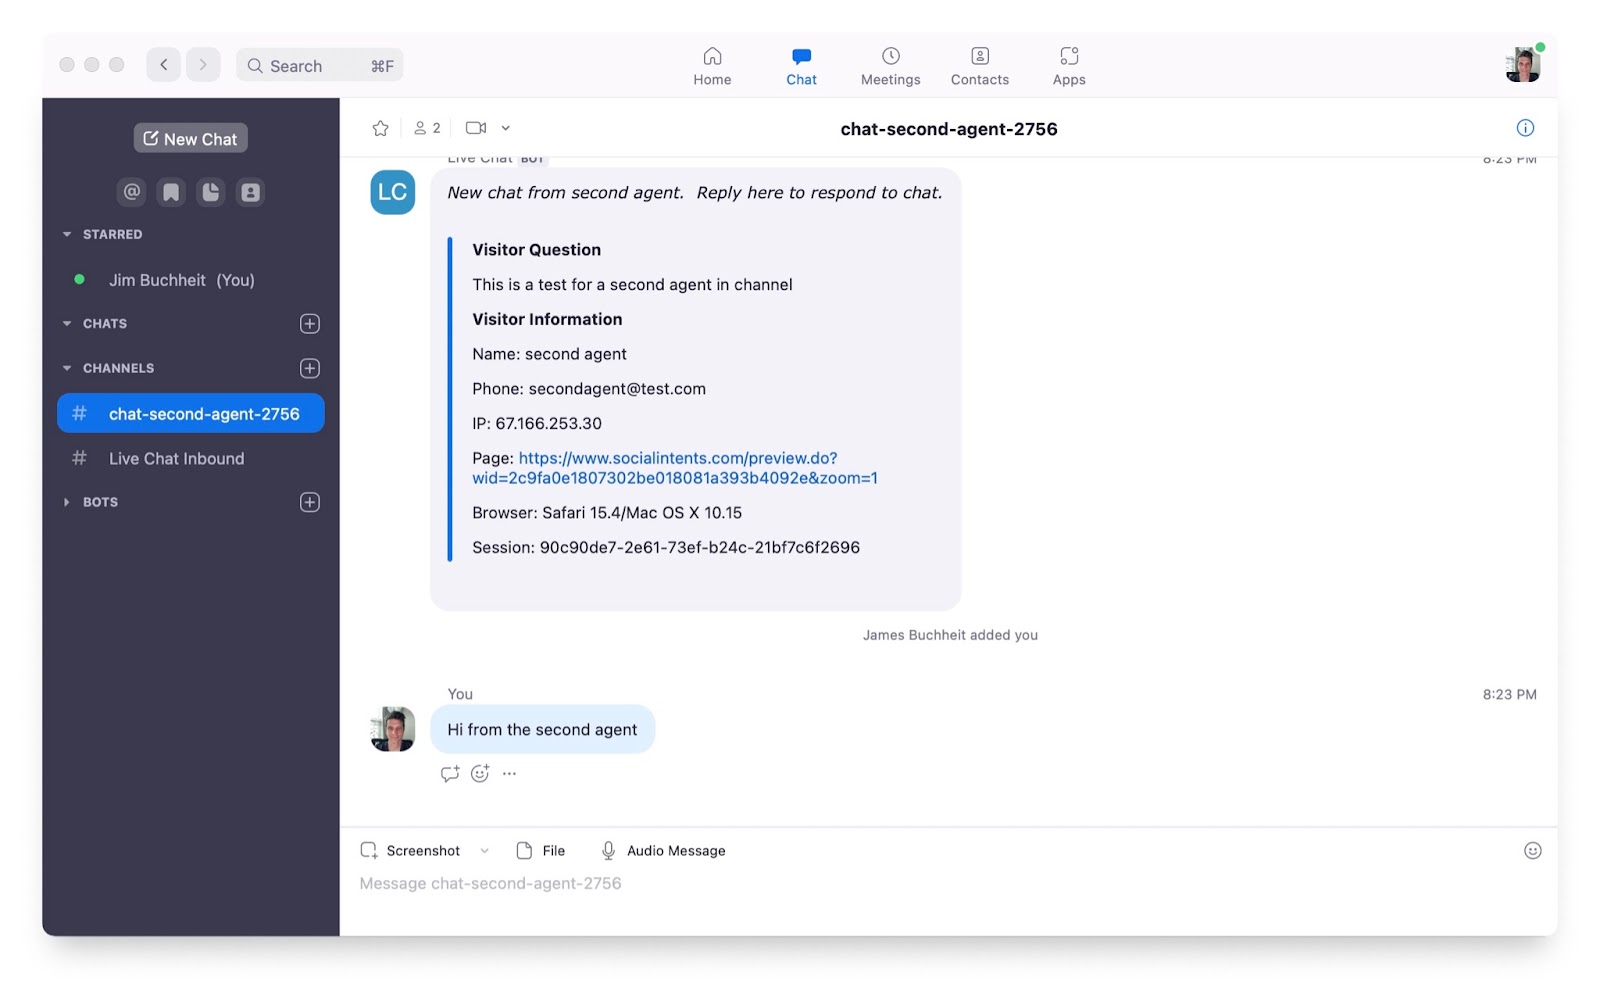
You should see the chat replies in the preview page.
Summary: Why These Scopes Are Needed
These OAuth scopes are required to:
- Provision your Social Intents trial account from your Zoom identity
- Route and manage live chats via Zoom Chat channels
- Enable chatbot capabilities and direct messaging
- Support real-time collaboration for multiple team members inside Zoom
By leveraging Zoom’s APIs securely, our Live Chat app enables your team to receive and respond to customer messages in real time without leaving Zoom.