How to Add an AI Chatbot To Wix Powered by OpenAI's ChatGPT
So you have a Wix website and are looking to automate your customer service? Great - this article will show you how to easily add an AI powered chatbot to your Wix website that you can train on your website data and business documents including pdfs, Word docs, and spreadsheets.
There are a lot of live chat options available in Wix including one offered by default by Wix. So why choose a third party for your chatbot? Well first of all, Wix does not support AI. There are other chatbot solutions out there as well, but only ours has the ability to provide AI customer service in Wix but also escalate to your human agents in Slack, Teams, or a web dashboard when requested.
So you get the benefit of both AI and human support when you have visitors that require additional attention. The AI capability typically reduces your support agent time requirements by 70% or more and you can constantly improve the results your chatbot provides to your customers through iterative content training based on prior questions.
So, let's get started. We'll show you how to create your AI chatbot and add it directly to your Wix website in just minutes.
Here are some things you can do with your AI Chatbot in Wix:
- Pre-qualify your leads with a pre-sales questions you can customize
- Train ChatGPT on your website content, articles, sitemaps and knowledge base
- Upload text files, Word docs, Excel spreadsheets, and PDFs as training content
- Set up initial System messages for the ChatGPT API
- Setup Human Escalation Trigger phrases that will invite agents to your chat conversations
- Escalate conversations to Slack, Microsoft Teams, or web agents
- Direct your website visitors to website information with a chatbot

Here's a step by step guide to embedding an AI Chatbot in your Wix website
Prerequisites
- OpenAI ChatGPT Account: https://platform.openai.com/signup
- Social Intents Account: https://www.socialintents.com
High Level Steps
- Create your OpenAI API Key after registering for an account
- Build a chatbot in Social Intents
- Add your Chatbot to Wix using your live chat code snippet
1. Create an OpenAI account
If you haven't already, sign up for your OpenAI account here.
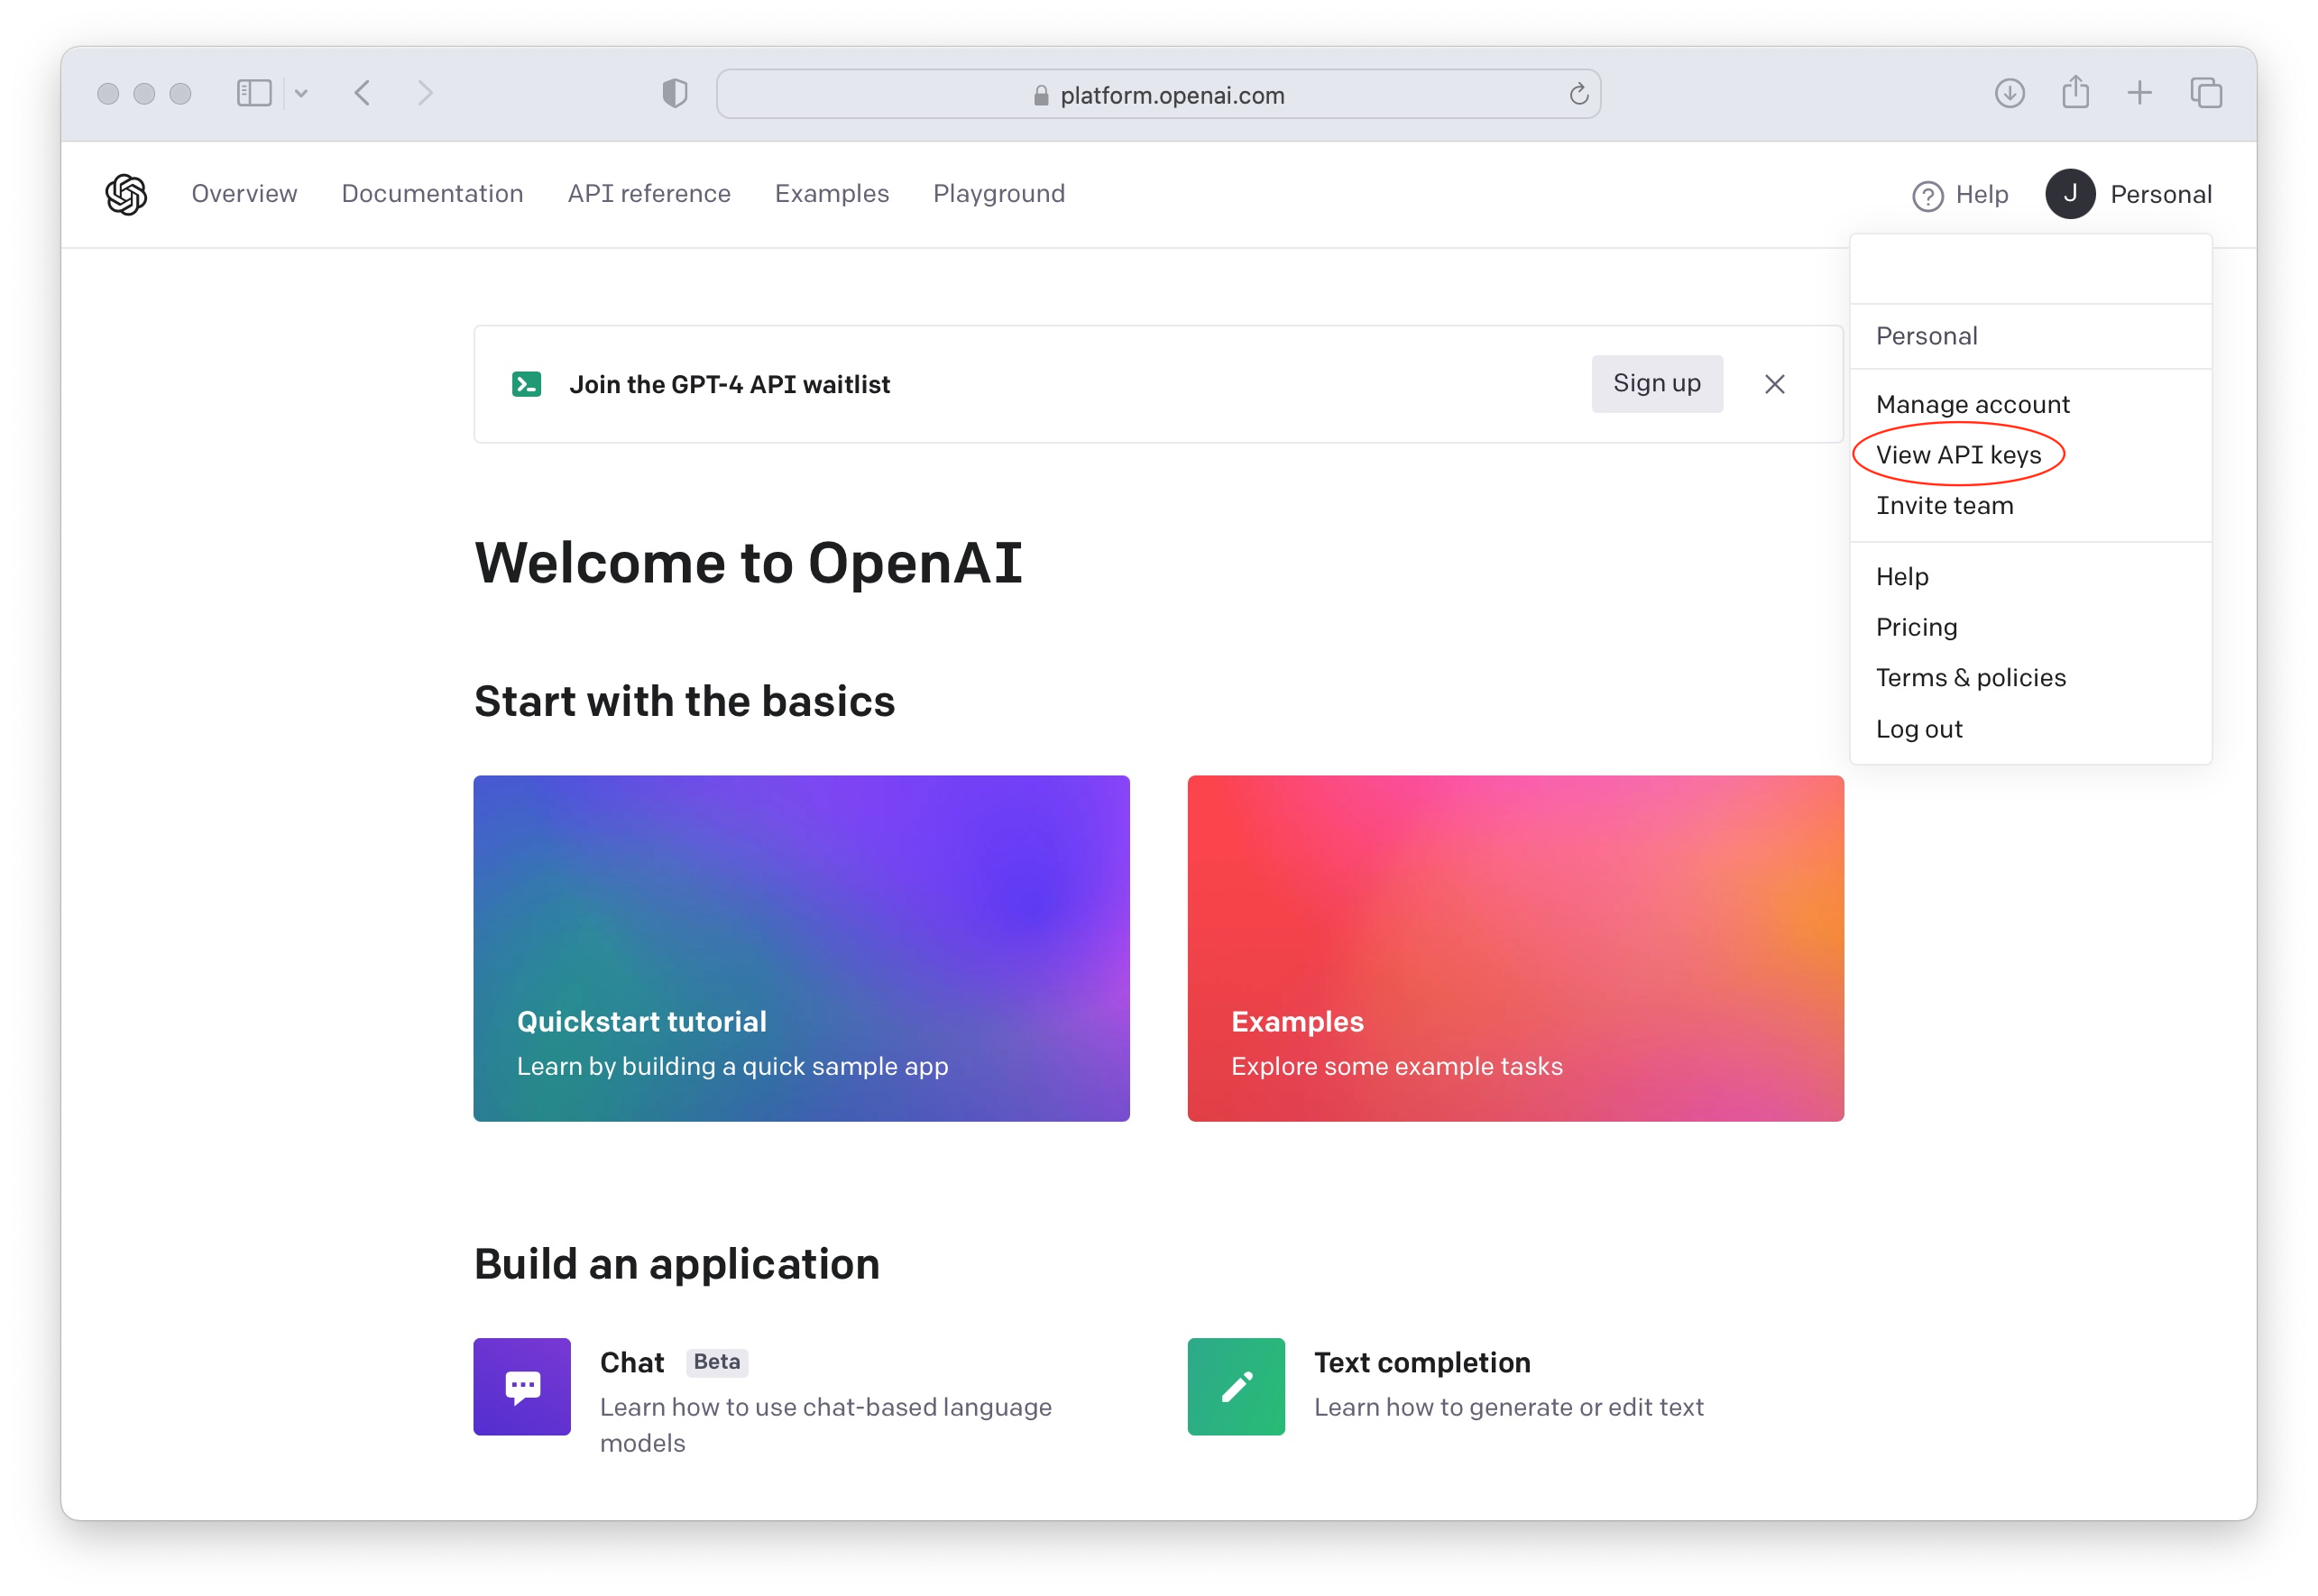
 Once logged in to OpenAI, click on your profile and select 'View API keys'
Now create a new API Key to use in your Social Intents Chatbot Settings when building your ChatGPT chatbot.

Add Payment Information to OpenAI to enable the API
The ChatGPT API is only enabled on paid OpenAI plans. Otherwise you'll see an error message response like the following from our chatbot integration:

You can check and add your billing information here: OpenAI Payment Settings
2. Create a Social Intents free trial
If you don't already have an account with Social Intents, simply register for a Free Trial.
Once you sign up you can pick an integration with Teams, Slack or a ChatGPT standalone account. The integrations will be used to invite in Live Chat agents when you want to escalate a website chat from the chatbot to live chat agents. You can answer chats in Microsoft Teams, Slack, Zoom, or Webex. Otherwise, you can answer the chats directly in our web-based dashboard.
After clicking register on the free trial, you can enter your OpenAI API Key in the integration and point to your website your training content to train your new chatbot on your own website content.

Want more info on Chatbot Settings?
After registering you can customize any of the ChatGPT settings for your chatbot right in Social Intents. For details on each ChatGPT Chatbot Settings you can configure, you can check out this article:
https://help.socialintents.com/article/200-chatgpt-chatbot-settings
3. Add your AI Chatbot to Wix using your Live Chat code snippet
Now copy your install code snippet that you'll add to Wix in the following step.
 Grab your code and add to your html template:

Add your Custom Live Chat code snippet to Wix
Now we will show you how to add your code snippet directly to your Wix website. Go to your Wix Dashboard:

And scroll down to the Settings link:
 Select the Custom Code option under the Advanced Settings
Next, scroll to the bottom of the Settings page to the Advanced section and choose Custom Code link.
 Once here, choose a section to add your Javascript code snippet to. In our case we'll select the Head section and choose 'Add Code'

Copy your Live Chat Javascript Code to your Wix website
Now grab the code snippet you copied in step 3 into the Edit Custom Code section in your Wix Settings as follows:

Enable your Custom Javascript Code snippet on your website
Finally, make sure to enable the custom code snippet you entered above once you Apply the snippet by turning on the toggle button for the snippet.

(Optional) Disable the Wix Chat that is already there
For our case, we want to use the 3rd Party Live Chat application instead of the built in Wix chat.
To disable the built in chat, just go to the website editor, select the Wix Chat element and click your delete button. Now Publish your app and your custom code snippet will be active.
Preview your Live Site that includes your embedded Microsoft Teams Live Chat
That's it. After publishing your Wix changes, simply view your live site to verify your Live Chat for Microsoft Teams is now active on your Wix website!
